> ## Documentation Index
> Fetch the complete documentation index at: https://docs.flexprice.io/llms.txt
> Use this file to discover all available pages before exploring further.
# Creating a customer
To create a new customer in Flexprice, follow these steps:
Navigate to the customers dashboard by clicking on Customers from the left navigation panel.
* Click on "**+ Add”**. This opens the Add Customer form
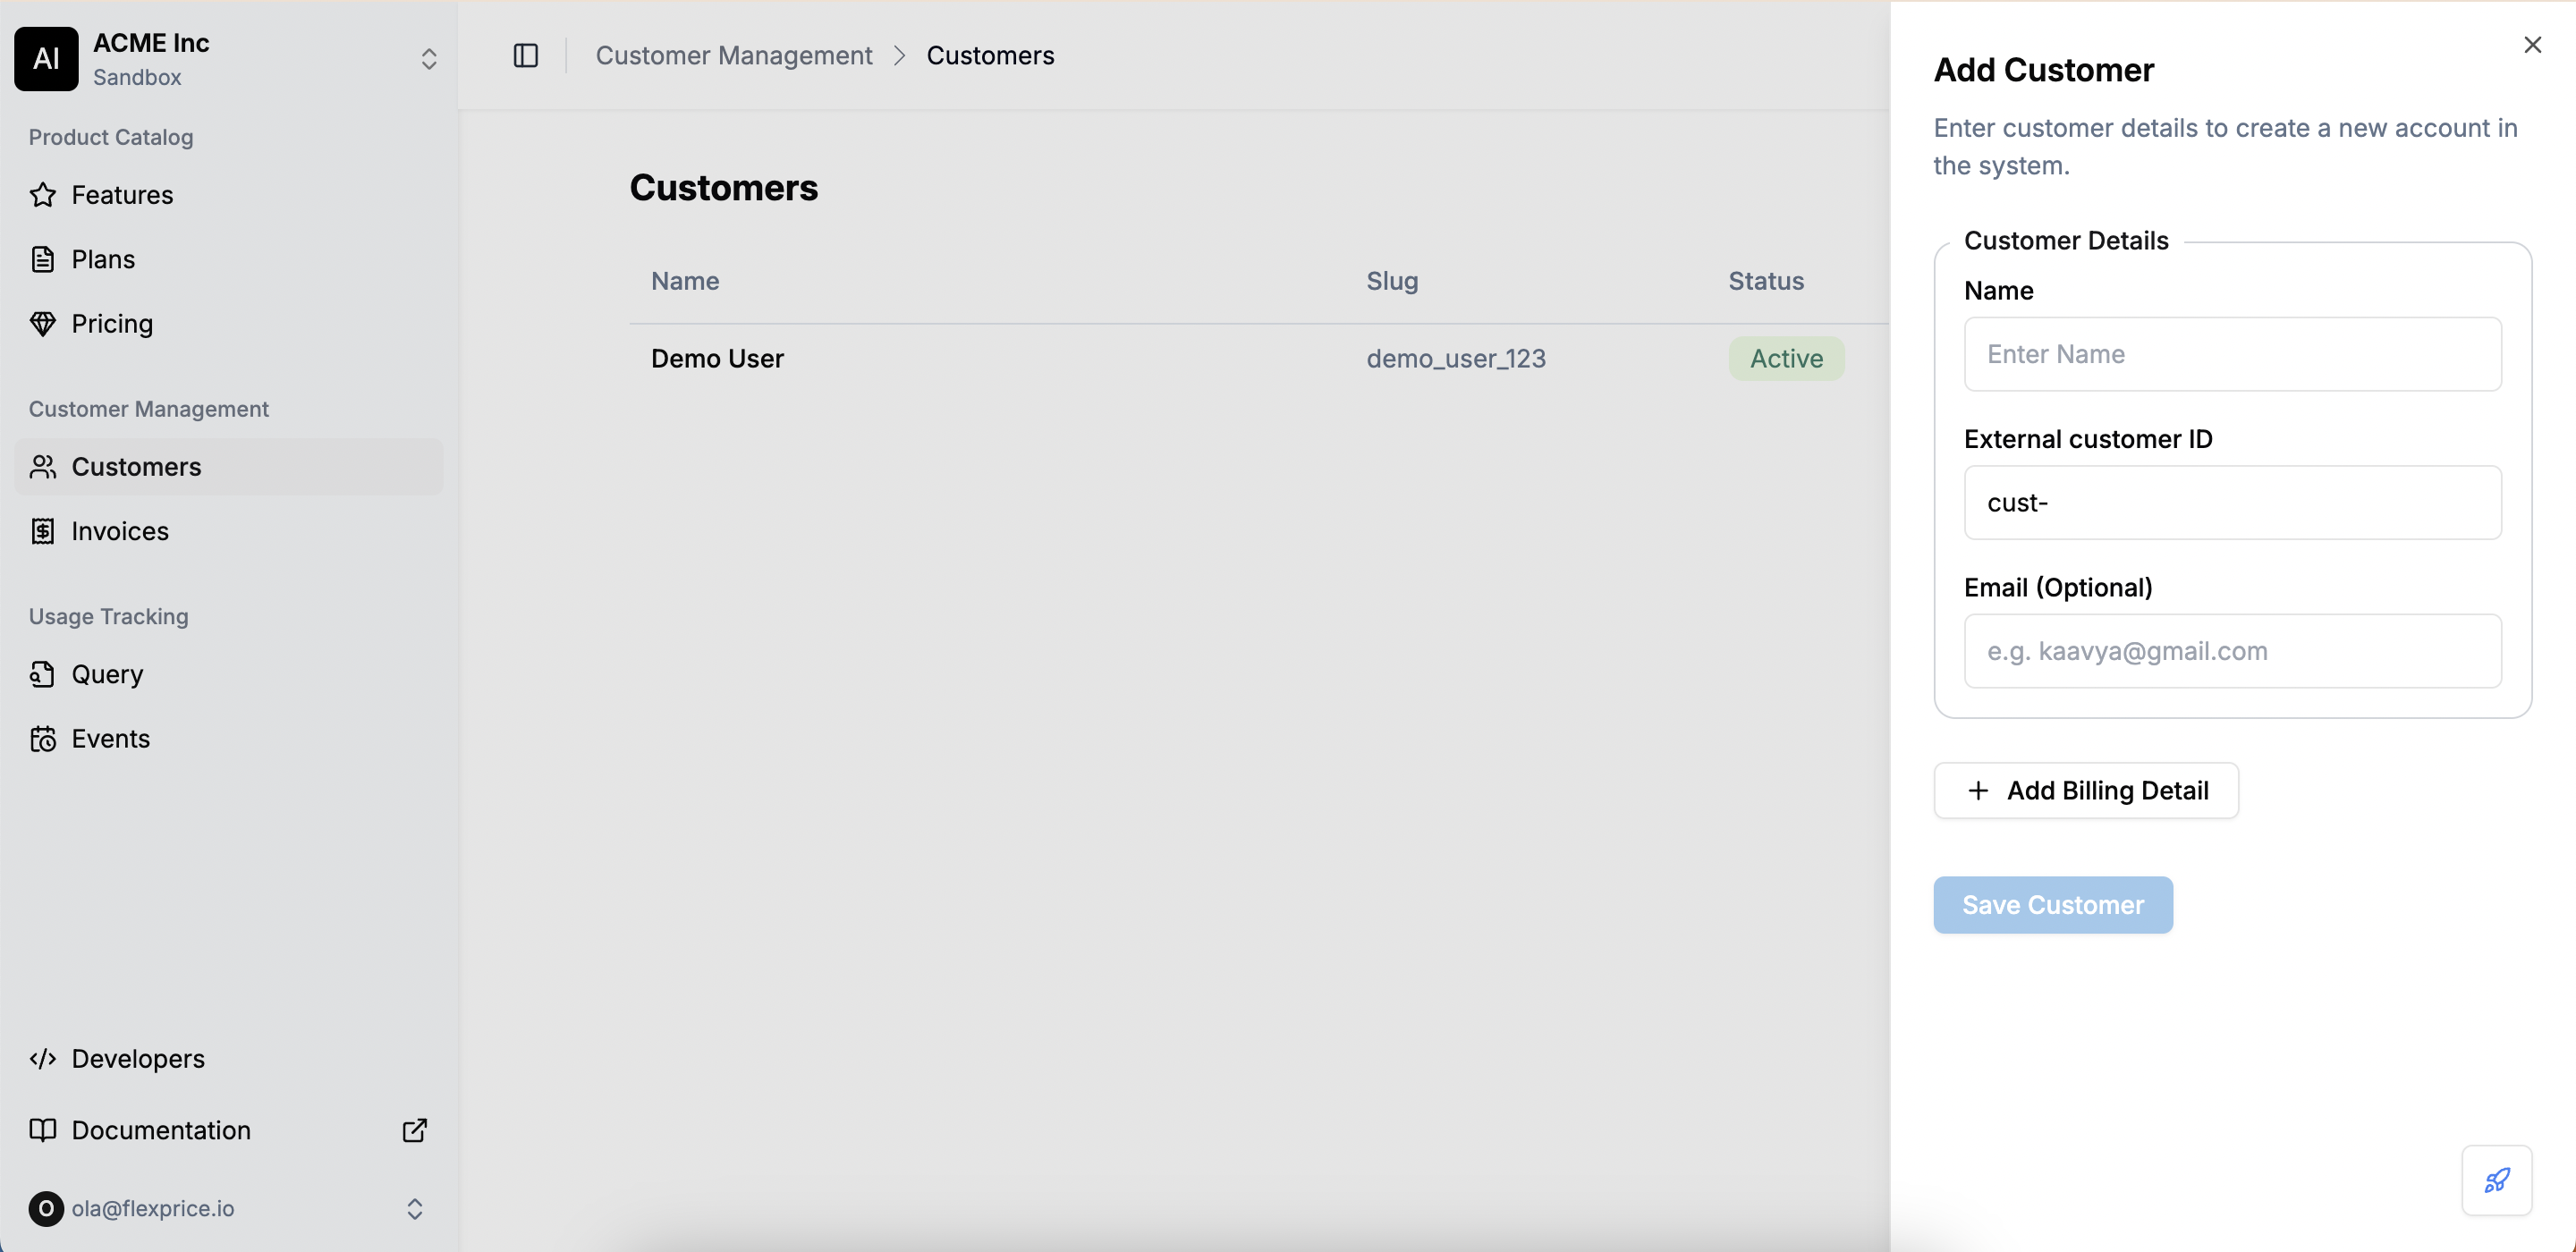 * **Enter Customer Details**
* **Name**: The name of the customer.
* **External Customer ID**: A unique identifier (useful for mapping to external systems).
* **Email (Optional)**: Customer’s contact email for invoices and notifications.
* Click on **Add Billing Details (Optional) and enter:**
* **Enter Customer Details**
* **Name**: The name of the customer.
* **External Customer ID**: A unique identifier (useful for mapping to external systems).
* **Email (Optional)**: Customer’s contact email for invoices and notifications.
* Click on **Add Billing Details (Optional) and enter:**
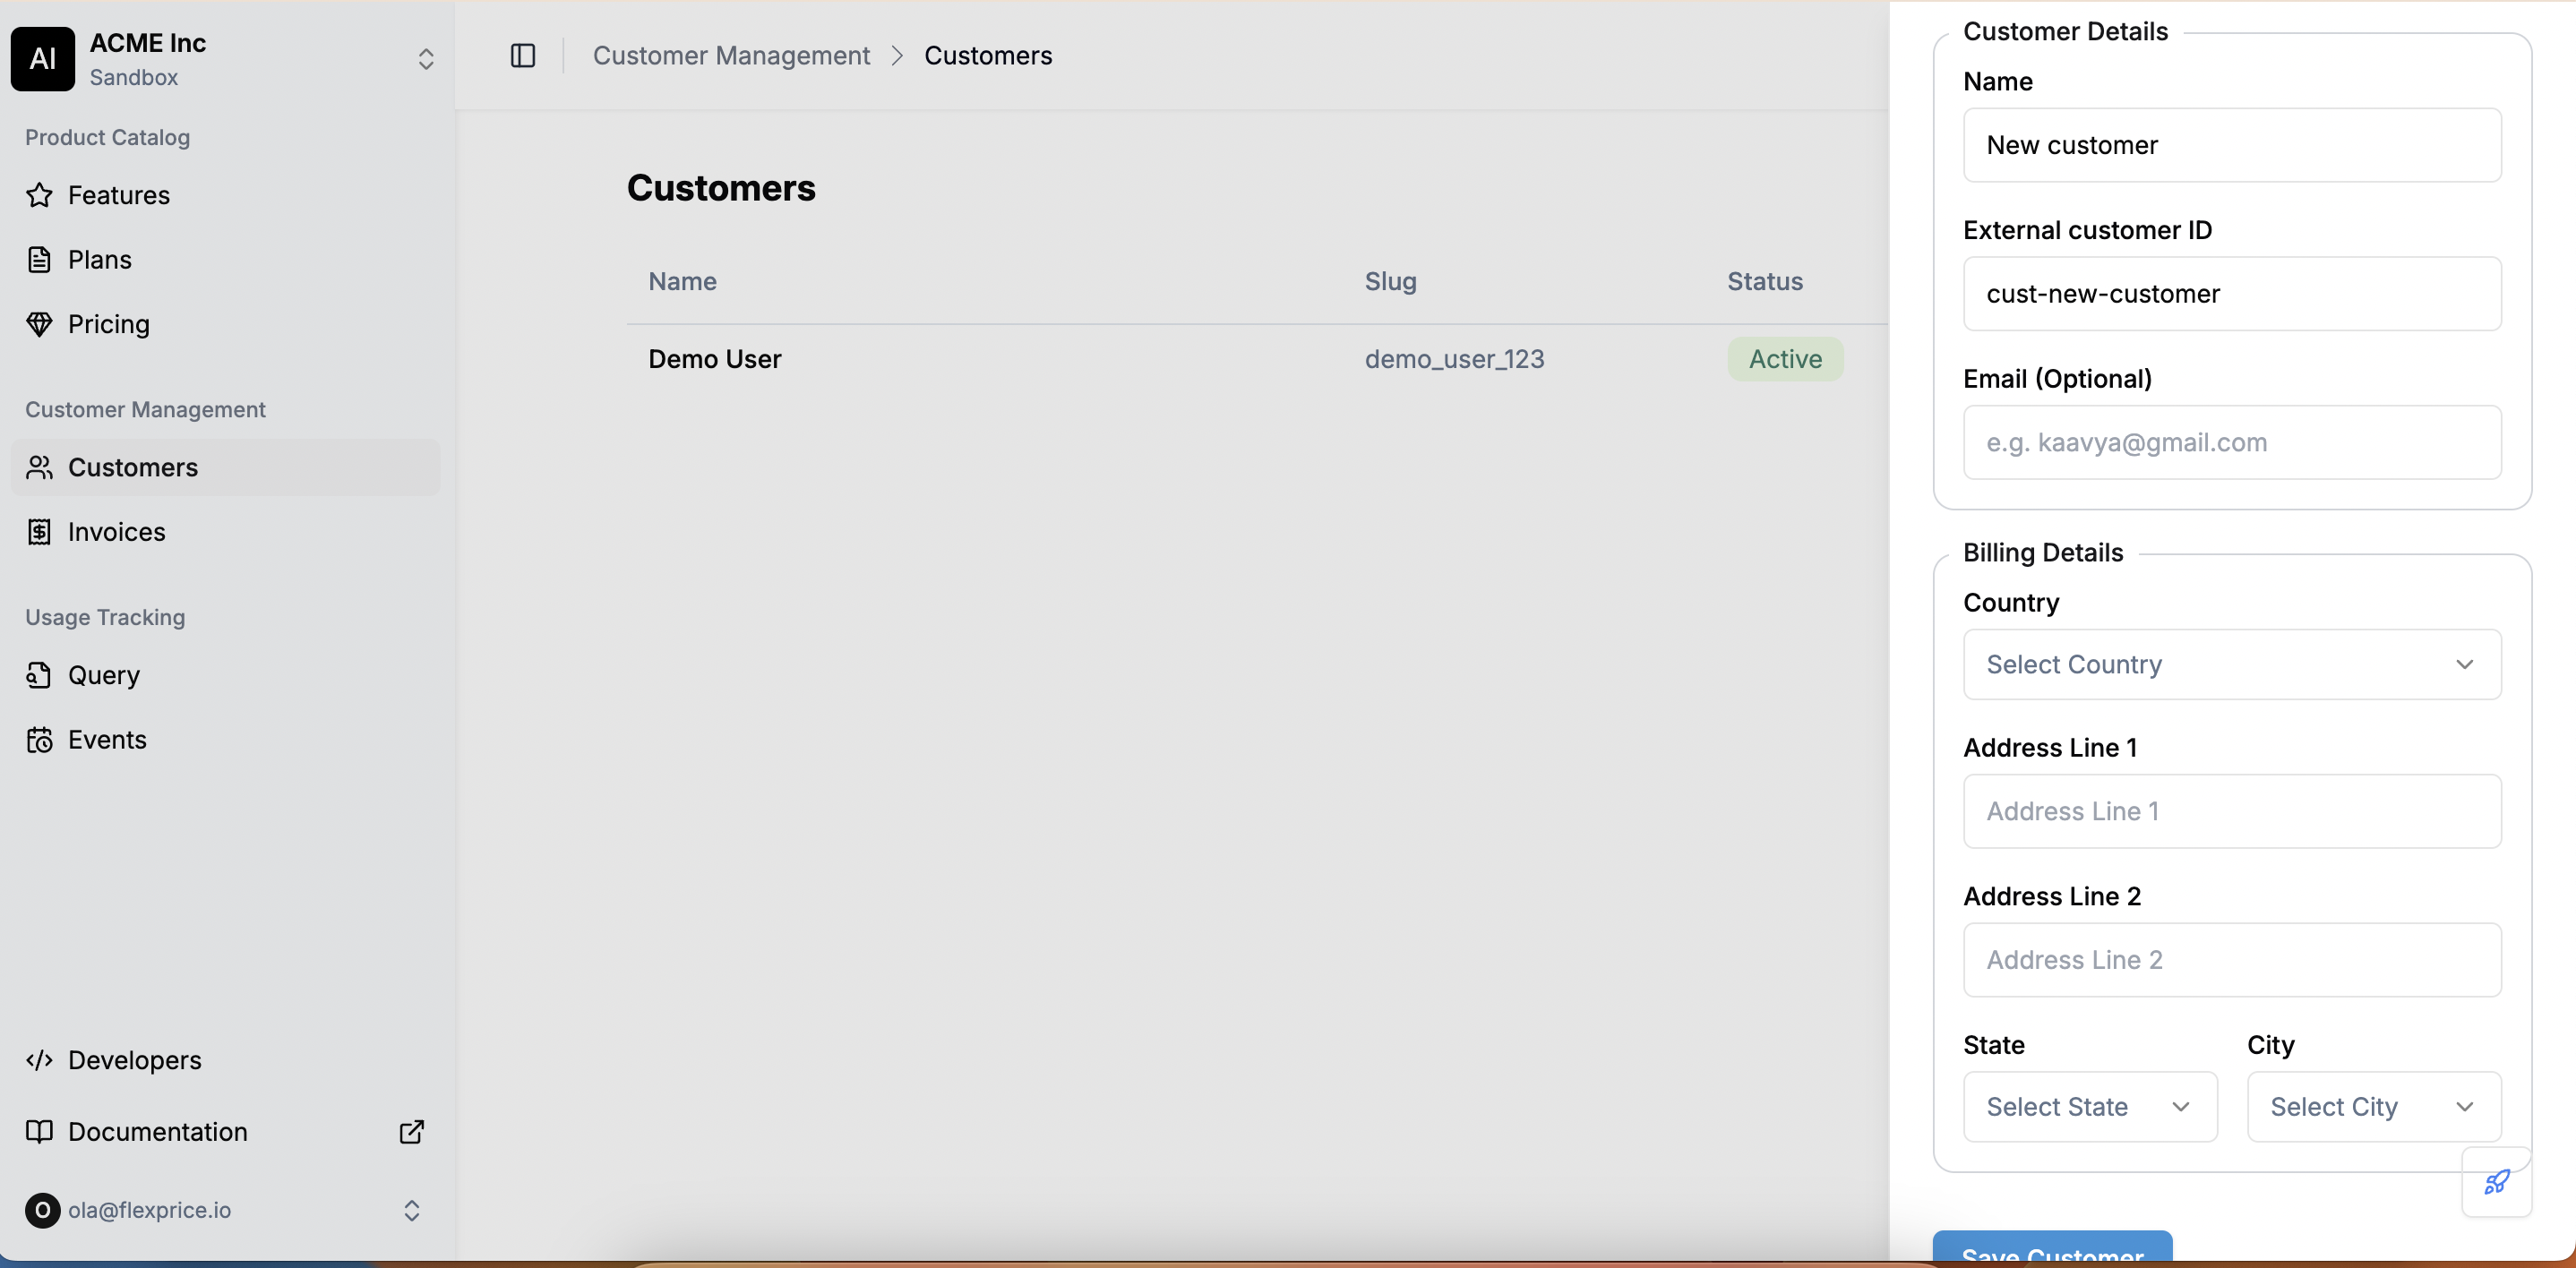 * **Country**: The country for tax and compliance purposes.
* **Address Line 1 & 2**: The billing address.
* **State & City**: The customer’s location.
* Click on **Save Customer** to complete the process.
* **Country**: The country for tax and compliance purposes.
* **Address Line 1 & 2**: The billing address.
* **State & City**: The customer’s location.
* Click on **Save Customer** to complete the process.
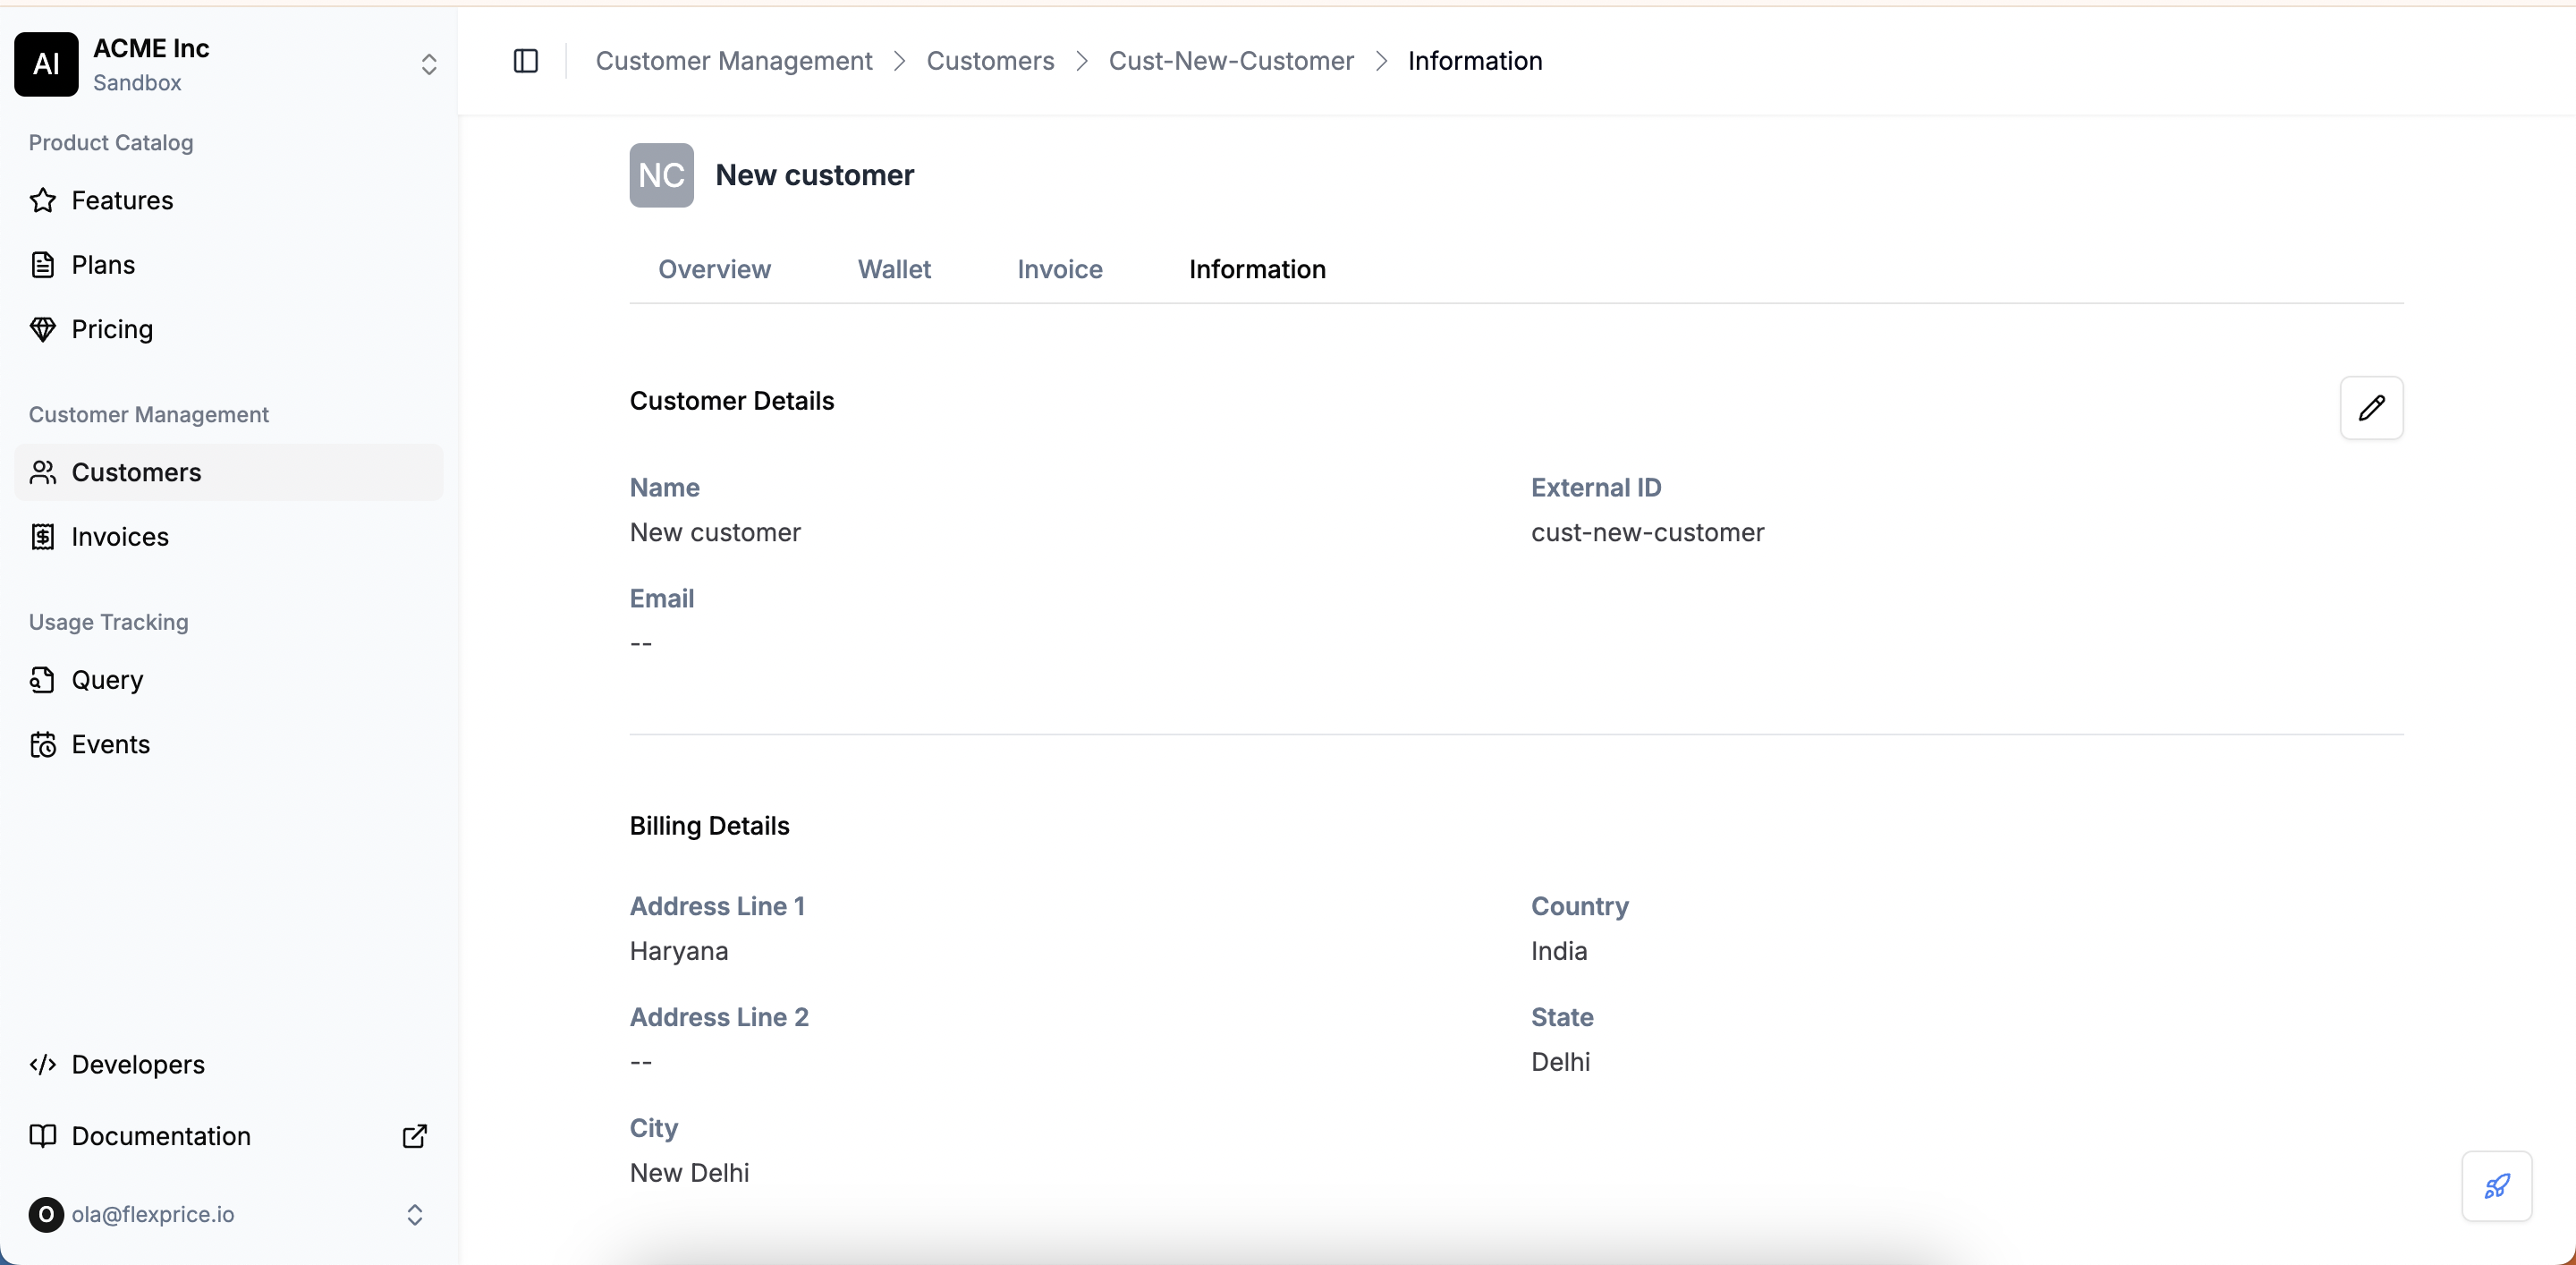 Once created, the customer appears in the list with an **Active** status. You are not required to fill in all details initially; additional information can be added later as needed.