> ## Documentation Index
> Fetch the complete documentation index at: https://docs.flexprice.io/llms.txt
> Use this file to discover all available pages before exploring further.
# How to Set Up AWS Marketplace
> Complete guide to listing your product on AWS Marketplace and connecting your AWS seller account to Flexprice
## Overview
The AWS Marketplace integration lets you sell your product on AWS Marketplace while metering usage in Flexprice. Usage that is already tracked against a Flexprice subscription is reported to AWS on your behalf, AWS invoices the buyer, and AWS pays you out.
Setting this up is a one-time job with three parts:
* **Your AWS listing**: a product with a single usage dimension, priced so AWS bills exactly what Flexprice computes
* **An IAM role**: cross-account permission for Flexprice to report usage into your AWS account
* **A Flexprice connection**: stores the role details so reporting can run
Once this is done, you link each buyer's AWS agreement to a Flexprice subscription. That is covered in [AWS Marketplace Agreement Registration](/integrations/marketplace-integration/aws/agreement-registration).
## Prerequisites
Before setting up your AWS Marketplace connection, ensure you have:
1. **Approved AWS Marketplace Seller Account** - With permission to create and publish products
2. **AWS IAM Access** - To create a policy and a cross-account role in your seller account
3. **Flexprice Environment** - Valid environment ID and API key
4. **Flexprice Product Catalogue** - The customers, plans, and subscriptions you want to meter already set up
## Step 1: Create Your AWS Marketplace Listing
Create your product in the AWS Marketplace Management Portal. The integration supports products priced with **exactly one usage dimension**.
Select a usage-based pricing model for your product.
Add **one** usage dimension. Note its **API identifier**: this is the dimension name Flexprice reports against, and AWS makes it immutable once created.
| Field | Value |
| ------------------- | -------------------------------------------------------------------------------------- |
| **Dimension count** | Exactly one |
| **API identifier** | Your choice, for example `usage_fee`. Copy it: you need it when registering agreements |
| **Price per unit** | `$0.01` |
Price your single usage dimension at **`$0.01` per unit**.
AWS only accepts whole numbers as a usage quantity, so Flexprice reports your billable amount in cents. Pricing at this rate means AWS multiplies those cents back into the exact amount Flexprice computed, down to the cent.
The price must be exactly `$0.01` per unit. Any other value scales what AWS bills your buyers by that factor.
## Step 2: Set Up IAM Credentials for Flexprice to Meter on Your Behalf
Flexprice reports usage by assuming a cross-account IAM role in your AWS account. You create a policy allowing the metering action, then attach it to a role that trusts Flexprice and requires an external ID.
### Create the IAM Policy
In the AWS IAM console, go to **Policies → Create policy**, switch to the **JSON** editor, and paste the following. It grants the single permission Flexprice needs, and nothing else.
```json theme={null}
{
"Version": "2012-10-17",
"Statement": [
{
"Effect": "Allow",
"Action": "aws-marketplace:BatchMeterUsage",
"Resource": "*"
}
]
}
```
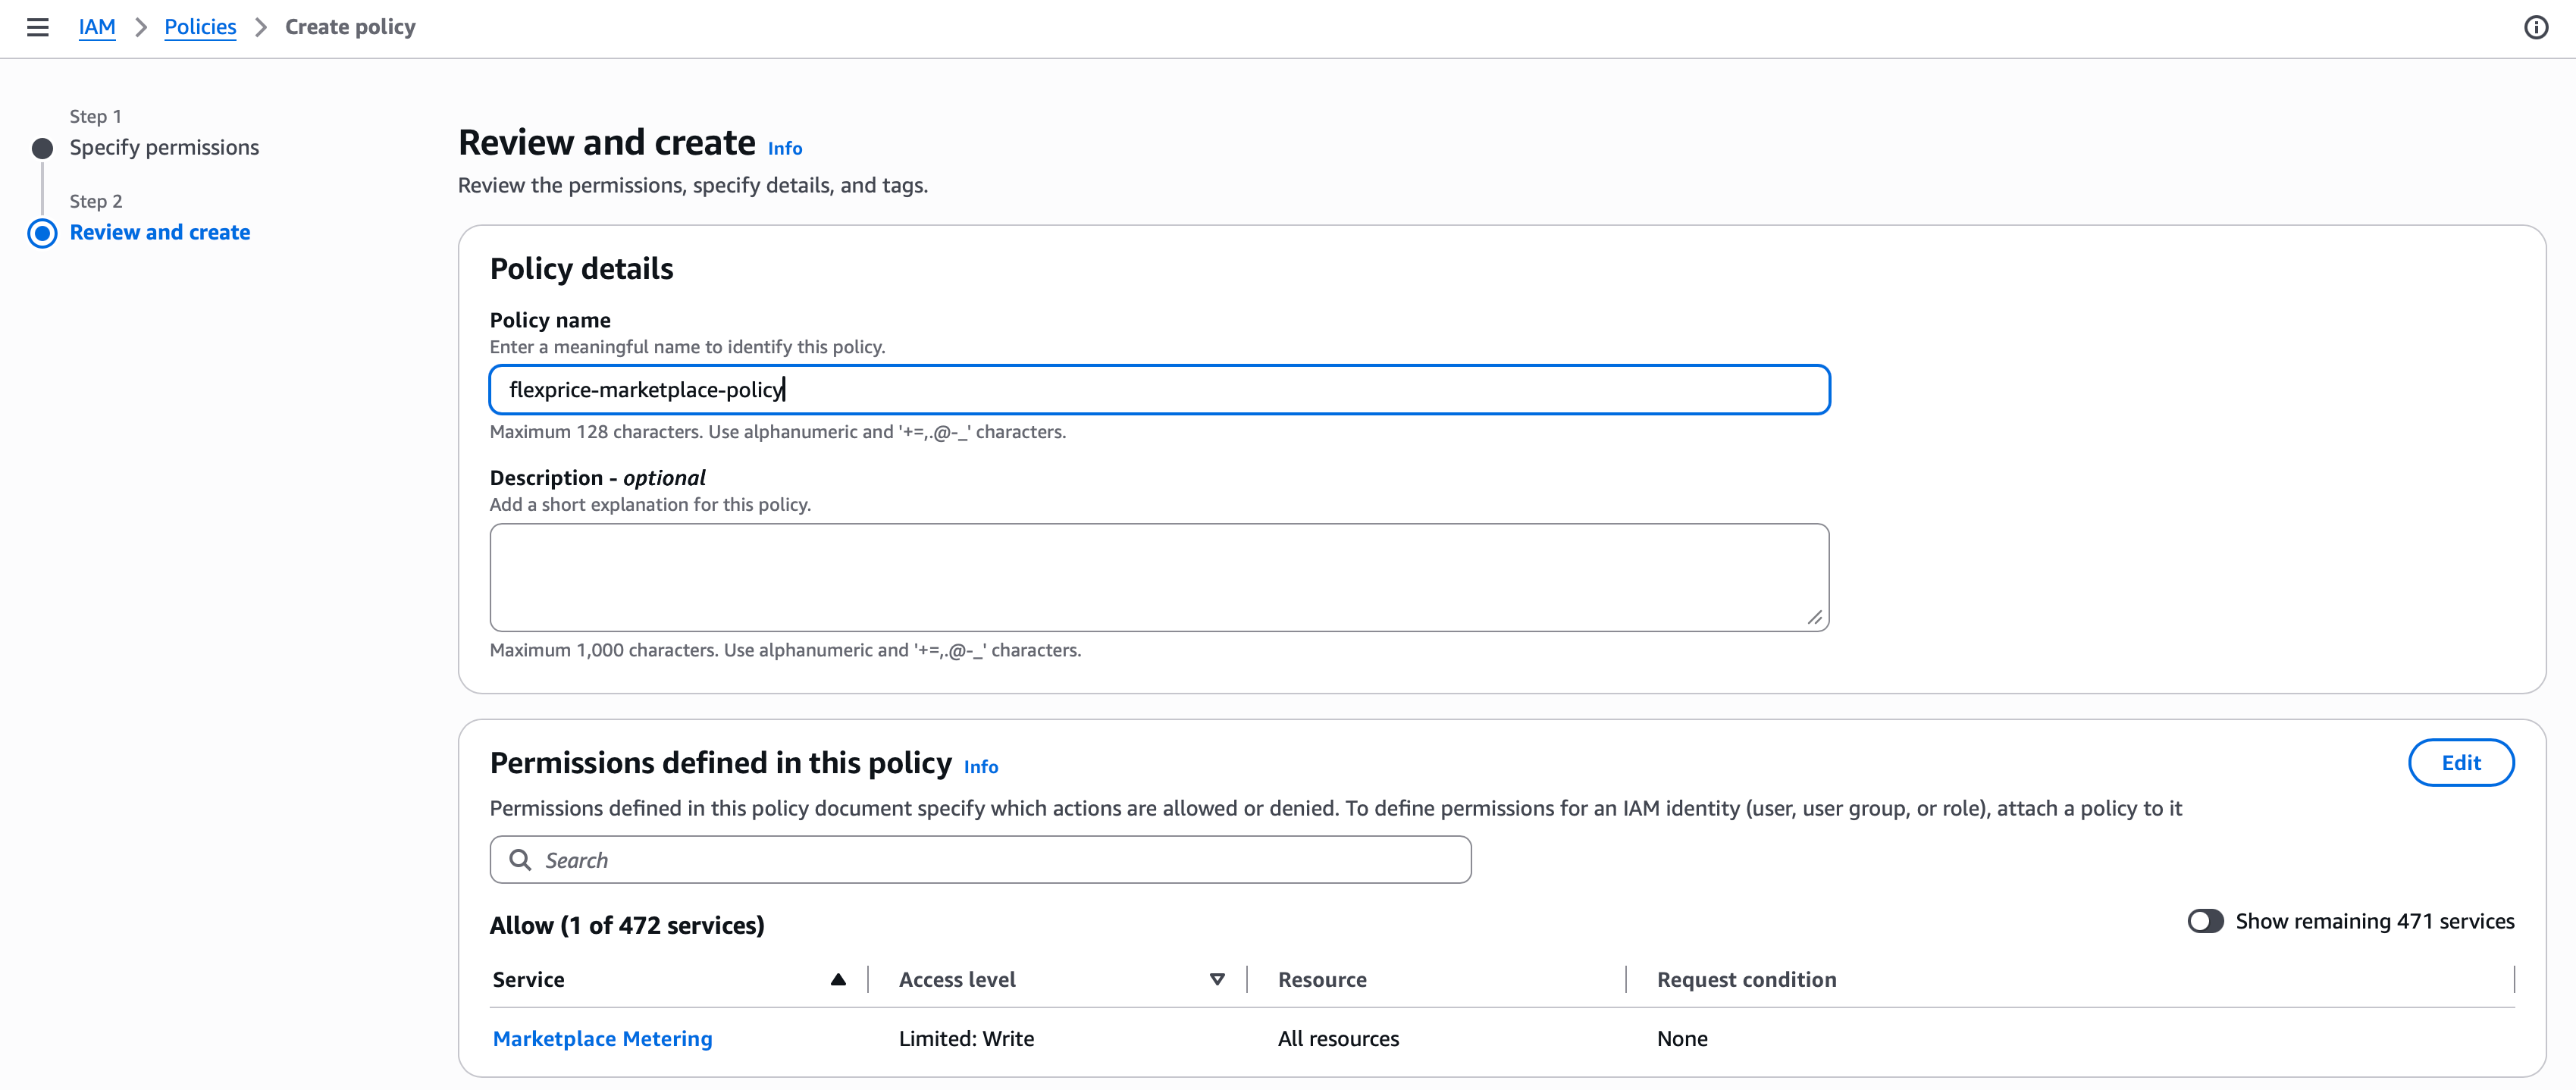
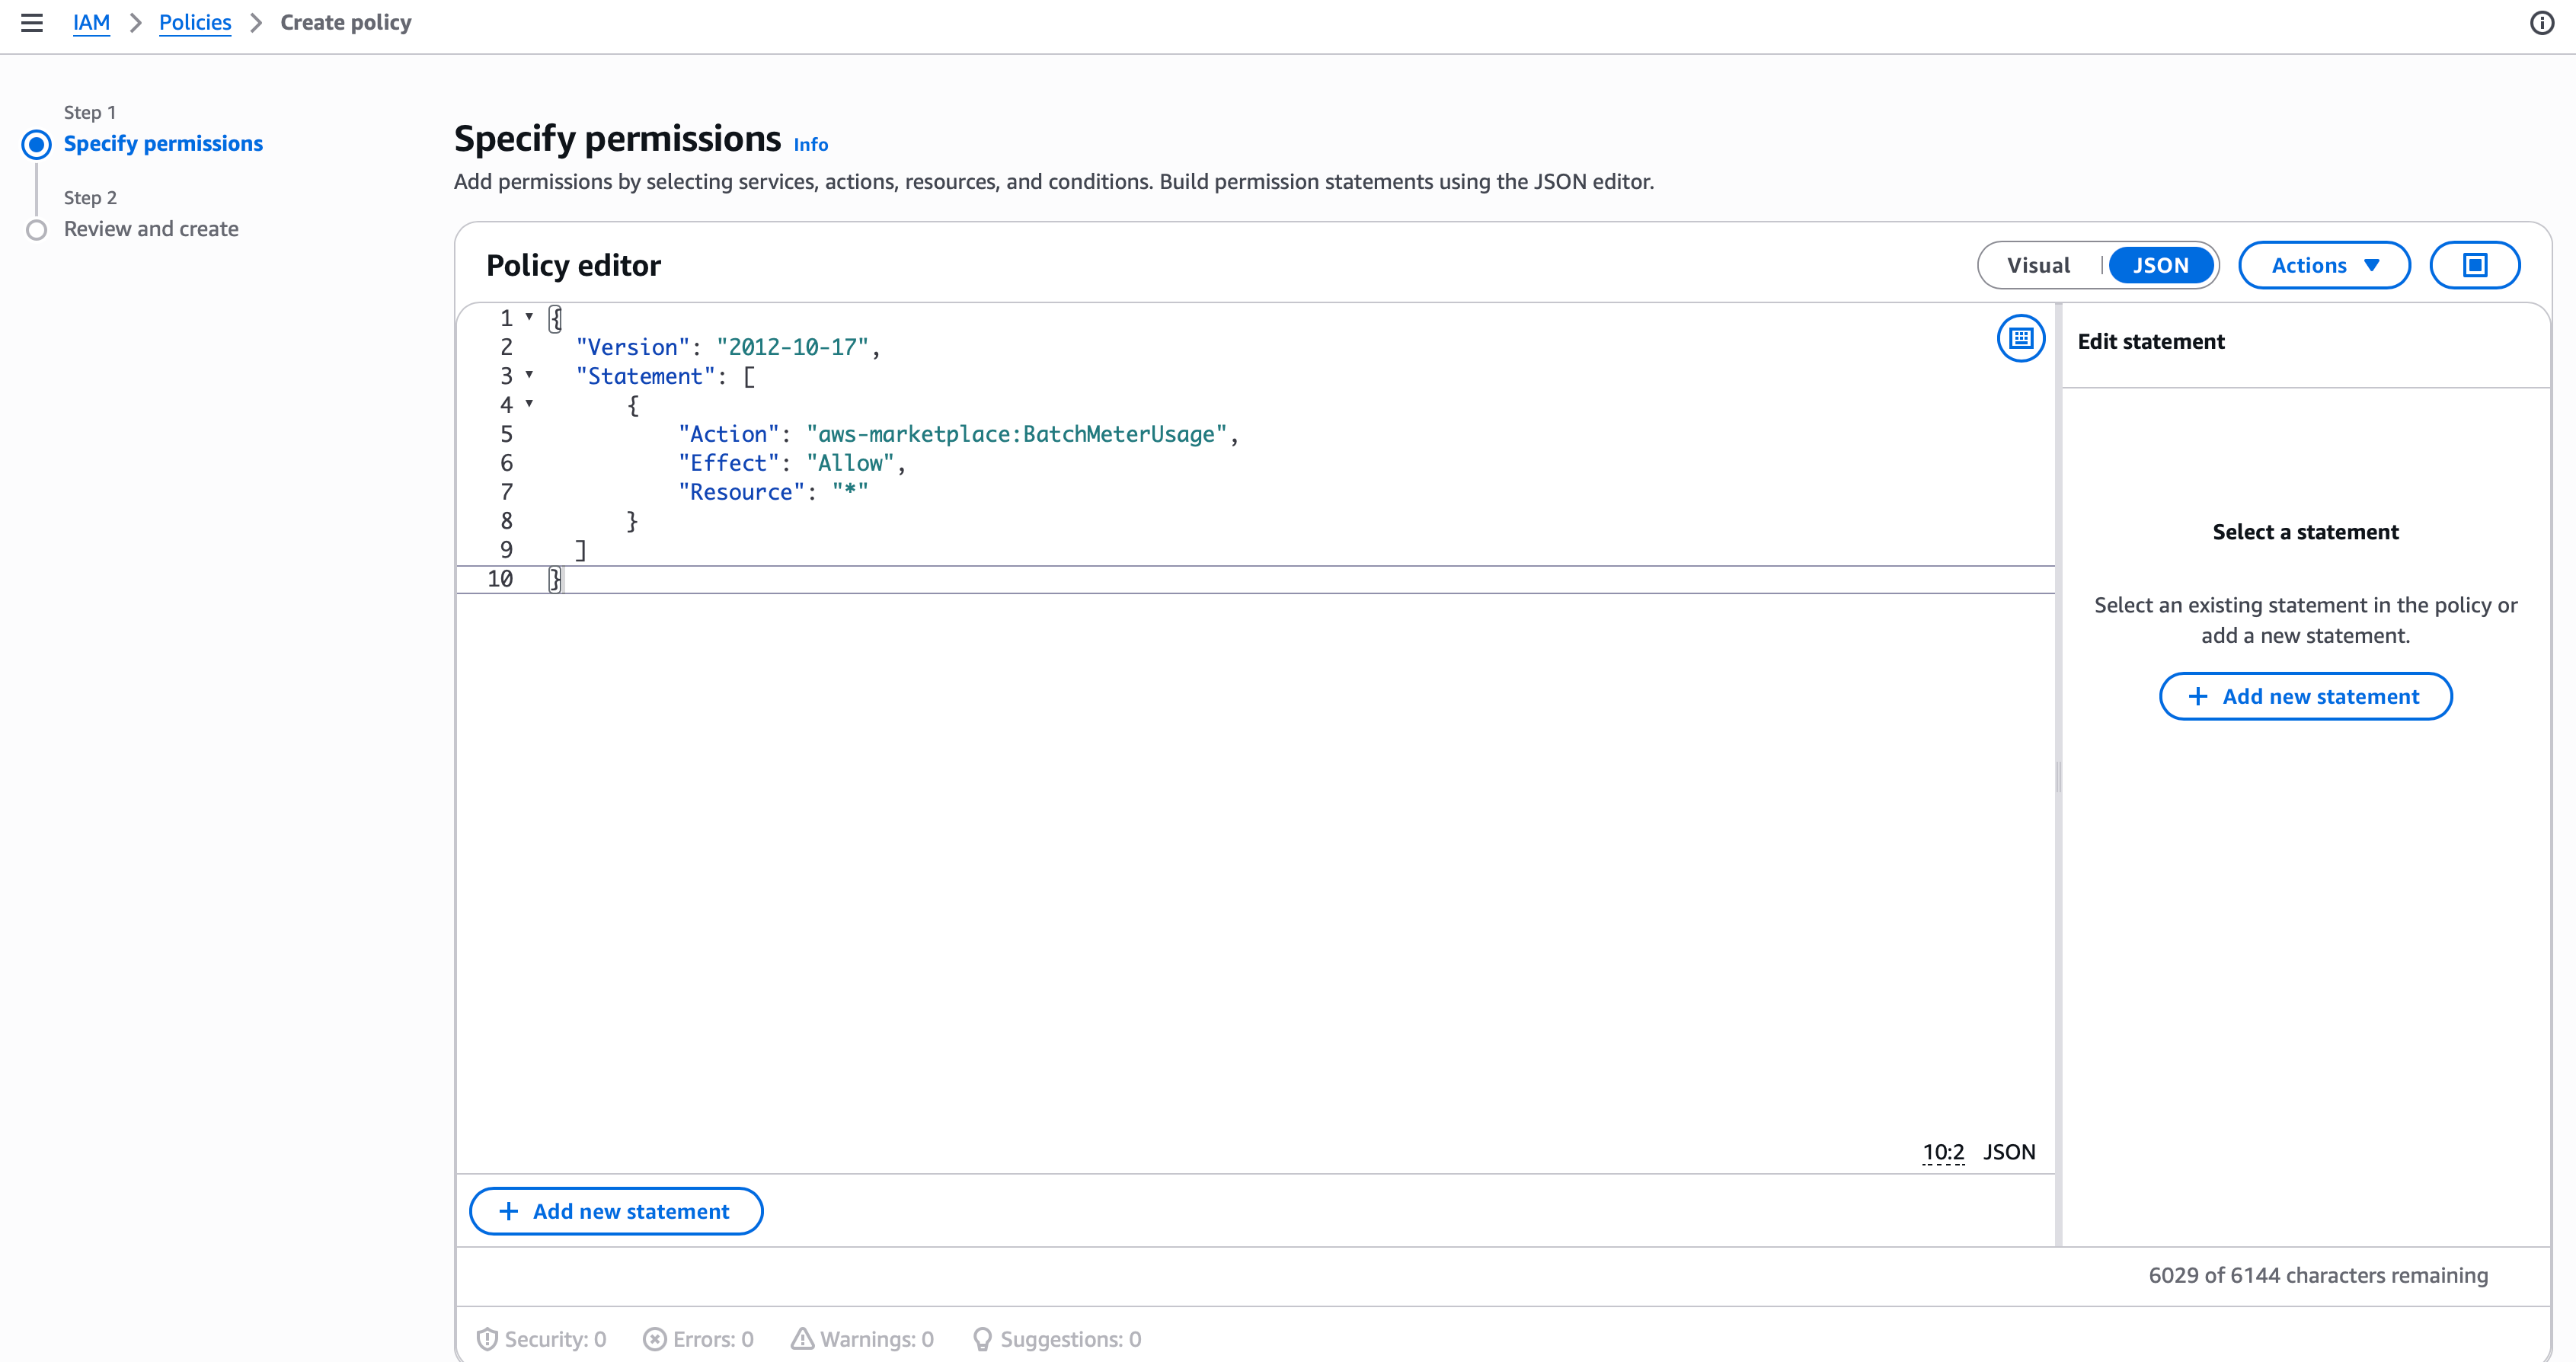 Name the policy, for example `flexprice-marketplace-policy`, then choose **Create policy**.
 ### Get Your Account ID and External ID
Go to your AWS Marketplace connection setup in Flexprice to find your **AWS account ID** and **external ID**. You need both in the next step.
### Create the Cross-Account Role
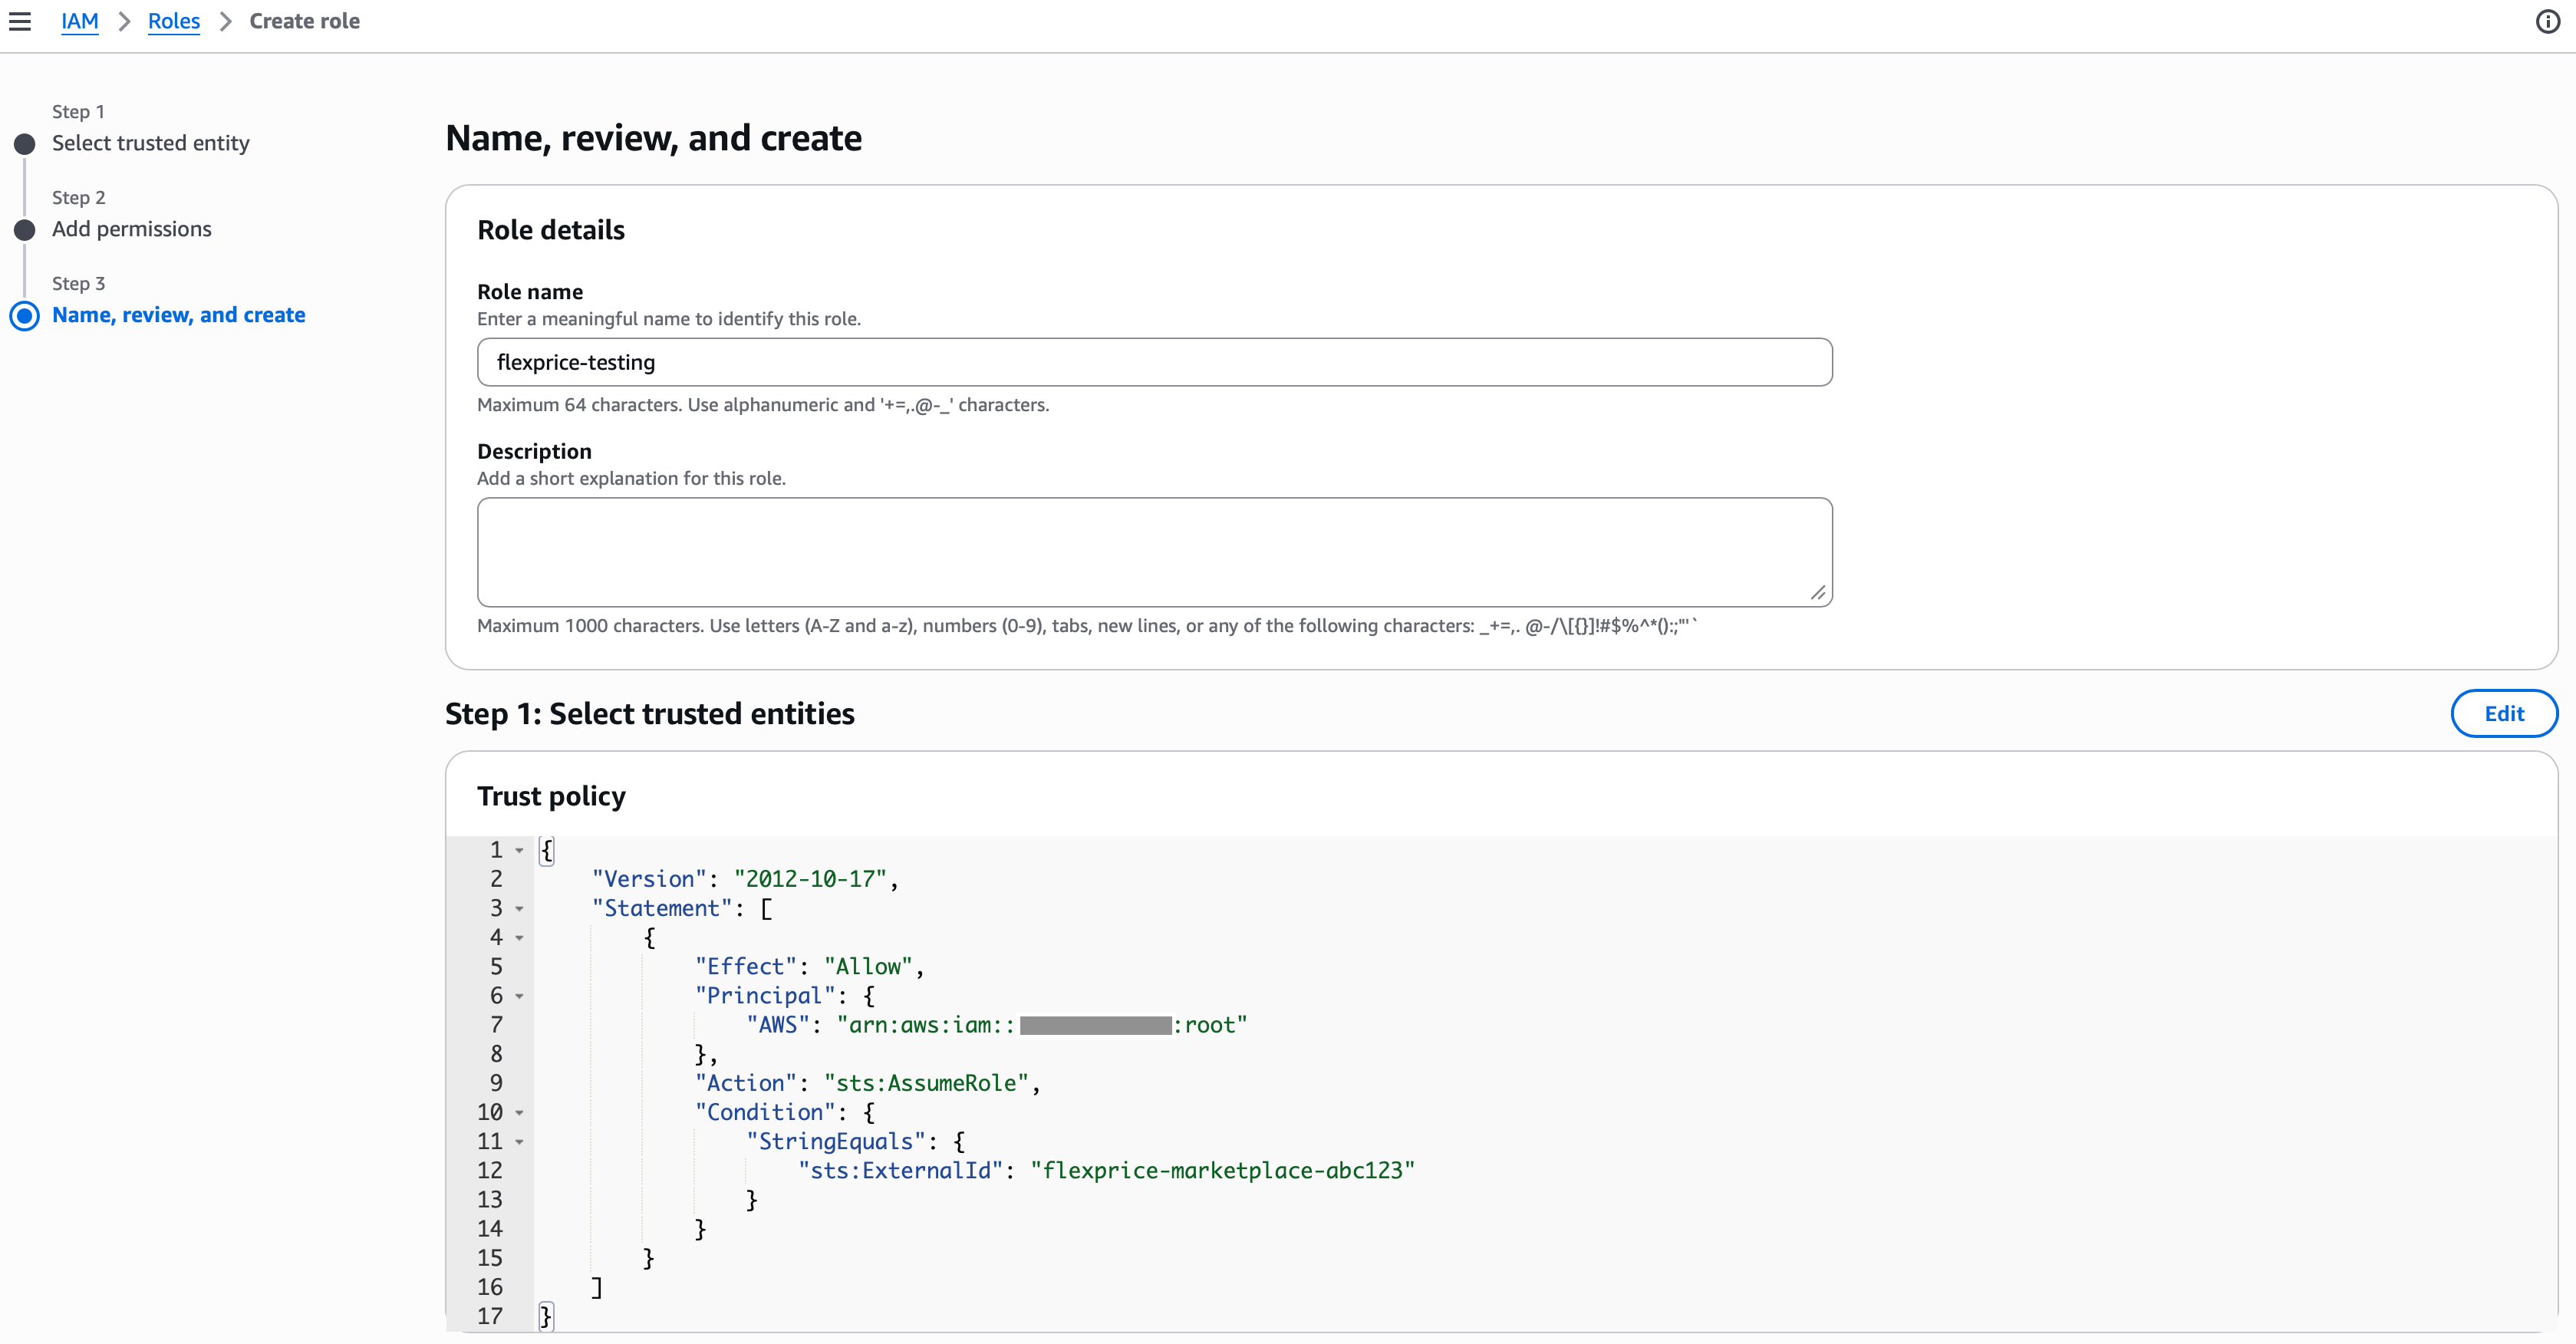
In the AWS IAM console, go to **Roles → Create role**, and under **Trusted entity type** choose **Custom trust policy**. Paste the following, replacing `` with the external ID from the previous step and keeping the account ID exactly as written.
```json theme={null}
{
"Version": "2012-10-17",
"Statement": [
{
"Effect": "Allow",
"Principal": {
"AWS": "arn:aws:iam::851725232919:root"
},
"Action": "sts:AssumeRole",
"Condition": {
"StringEquals": {
"sts:ExternalId": ""
}
}
}
]
}
```
### Get Your Account ID and External ID
Go to your AWS Marketplace connection setup in Flexprice to find your **AWS account ID** and **external ID**. You need both in the next step.
### Create the Cross-Account Role
In the AWS IAM console, go to **Roles → Create role**, and under **Trusted entity type** choose **Custom trust policy**. Paste the following, replacing `` with the external ID from the previous step and keeping the account ID exactly as written.
```json theme={null}
{
"Version": "2012-10-17",
"Statement": [
{
"Effect": "Allow",
"Principal": {
"AWS": "arn:aws:iam::851725232919:root"
},
"Action": "sts:AssumeRole",
"Condition": {
"StringEquals": {
"sts:ExternalId": ""
}
}
}
]
}
```
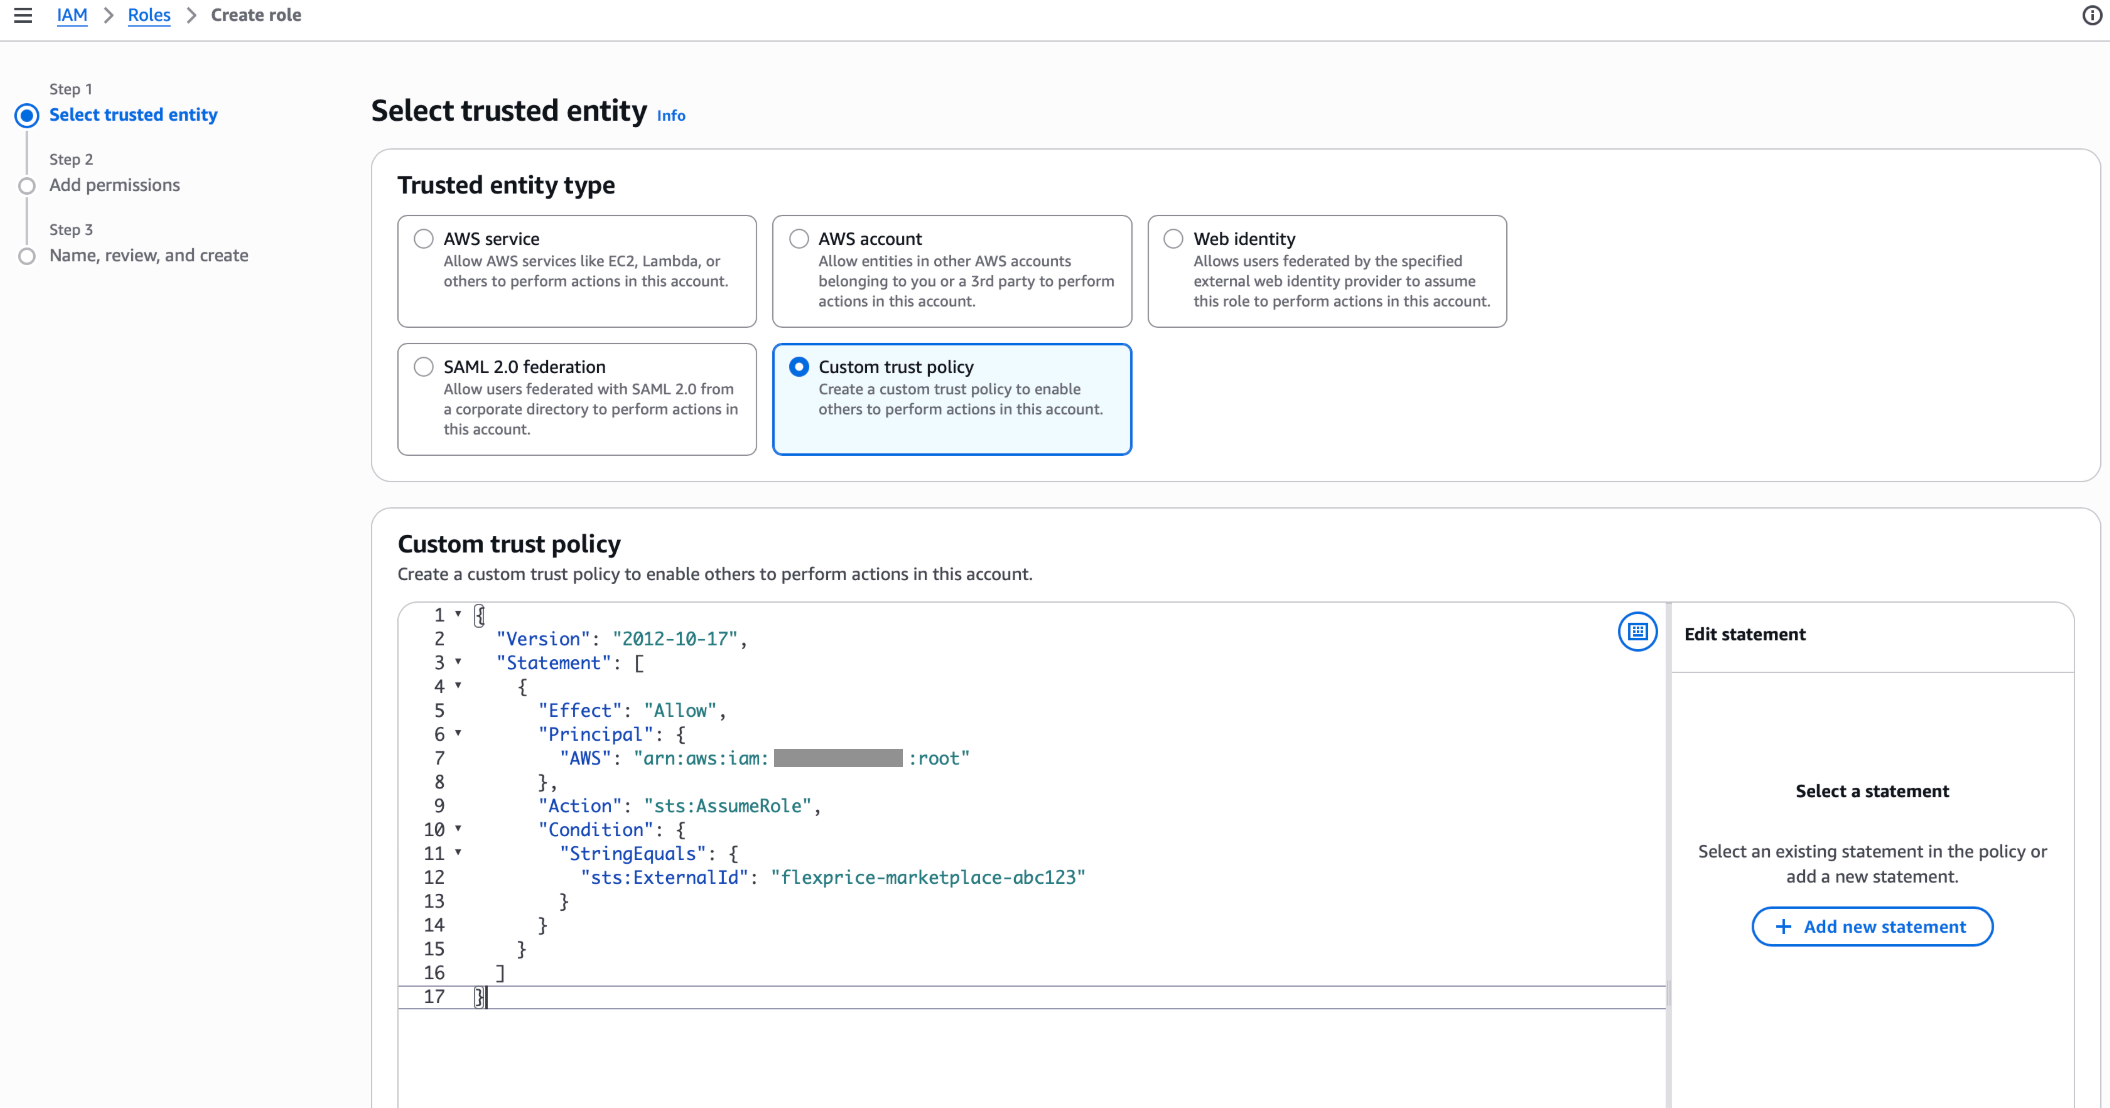 Search for and select the policy you created above.
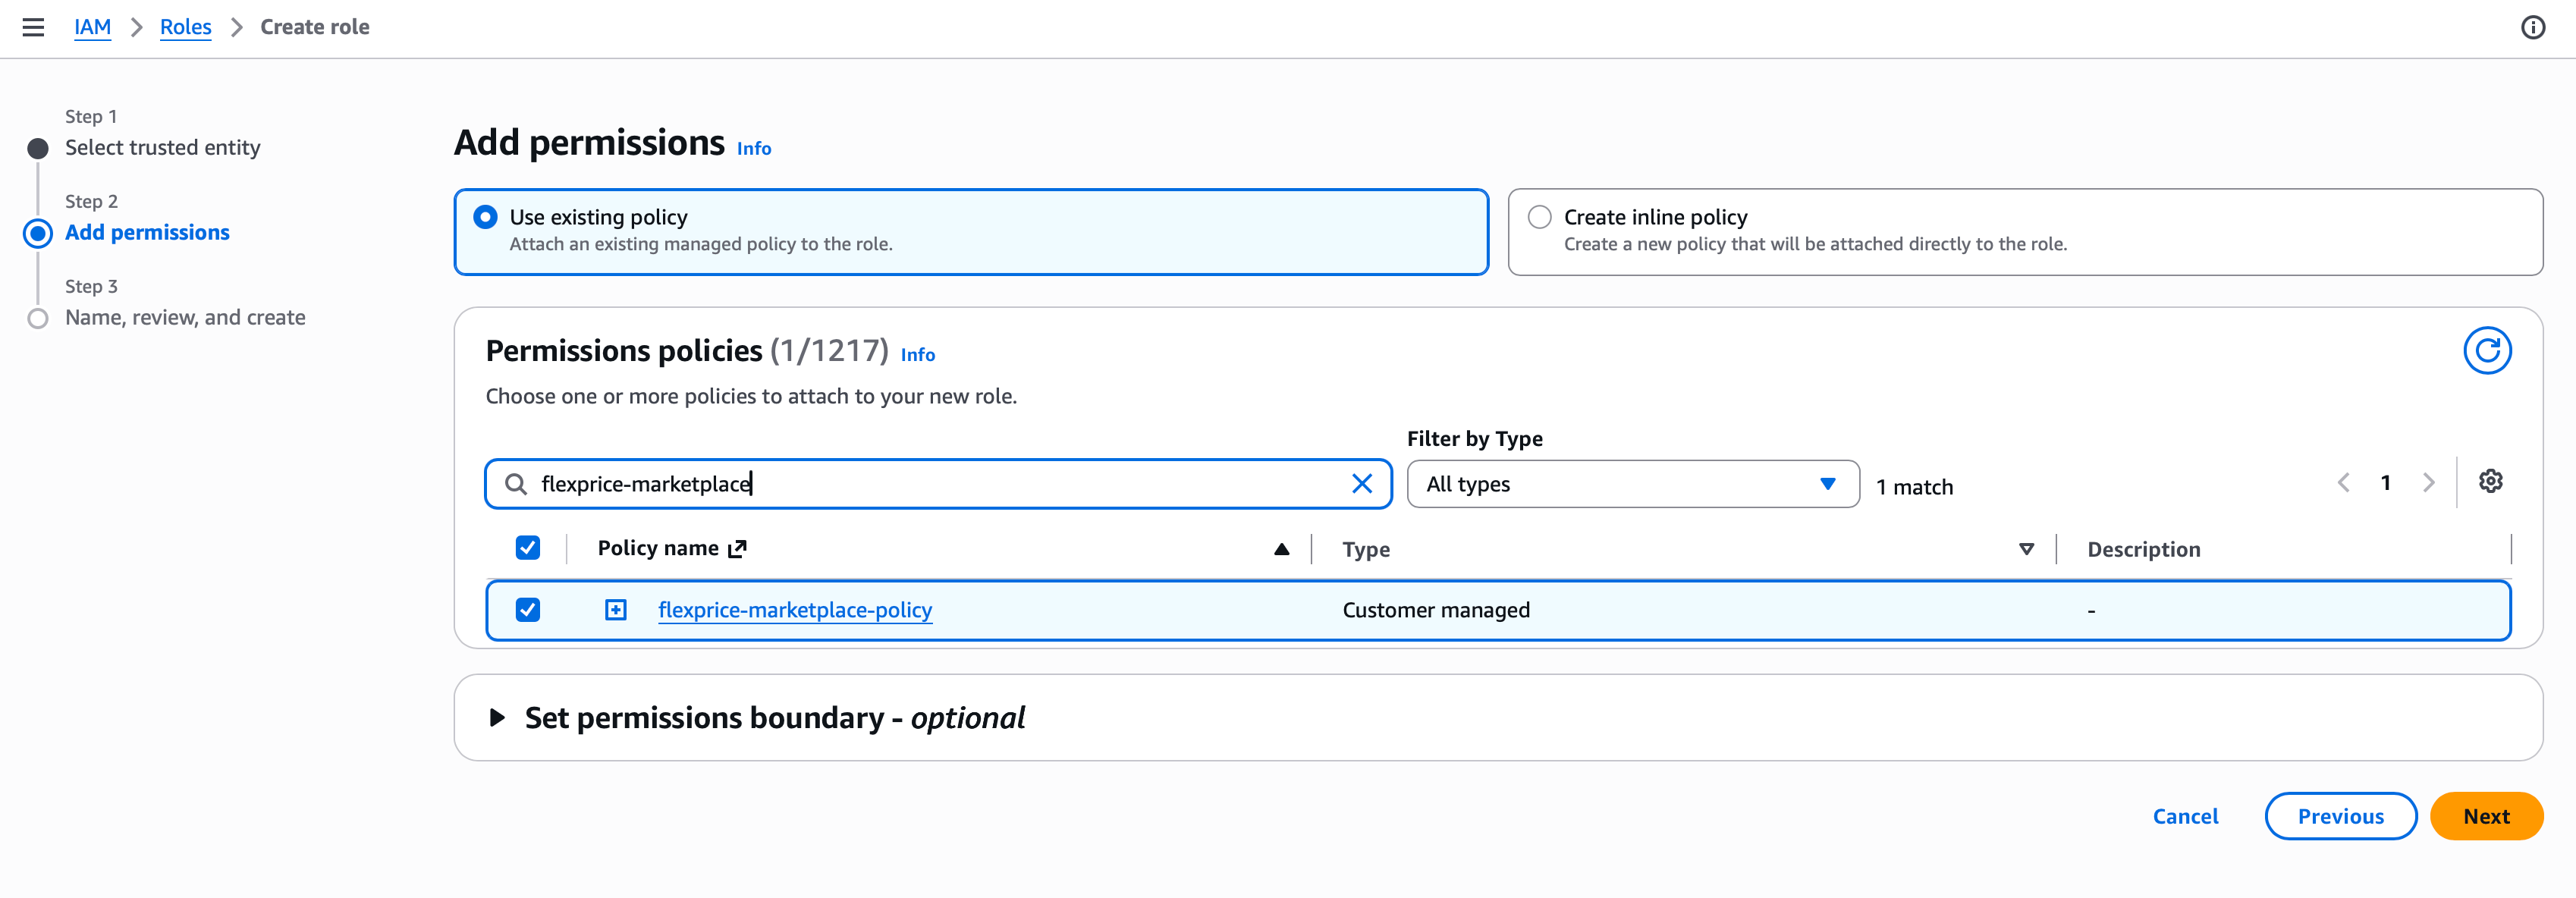 Give the role a name, for example `flexprice-marketplace-role`, confirm the trust policy matches what you pasted, and choose **Create role**.
 Open the role and copy its ARN. It has the format `arn:aws:iam:::role/`.
## Step 3: Create the AWS Marketplace Connection
### Using Flexprice Dashboard
You can create an AWS Marketplace connection directly from the Flexprice dashboard under **Integrations → AWS Marketplace**.
### API Request
**Endpoint:** `POST /api/v1/connections`
**Headers:**
```http theme={null}
Content-Type: application/json
Authorization: Bearer your_api_key
X-Environment-ID: your_environment_id
```
**Request Body:**
```json theme={null}
{
"name": "AWS Marketplace",
"provider_type": "aws_marketplace",
"encrypted_secret_data": {
"role_arn": "",
"external_id": ""
},
"metadata": {
"aws_marketplace": {
"region": "us-east-1"
}
}
}
```
| Field | Description | Required |
| --------------- | -------------------------------------------------------------------- | -------- |
| `name` | A friendly name for the connection | ✅ |
| `provider_type` | Must be `aws_marketplace` | ✅ |
| `role_arn` | The ARN of the cross-account role from Step 2 | ✅ |
| `external_id` | The external ID Flexprice provided, matching the role's trust policy | ✅ |
| `region` | The AWS region your product is listed in, for example `us-east-1` | ✅ |
### Response
```json theme={null}
{
"id": "conn_01KX6ABC211T628N0NZHVMK2PZ",
"name": "AWS Marketplace",
"provider_type": "aws_marketplace",
"status": "published",
"created_at": "2026-07-15T10:30:00Z",
"updated_at": "2026-07-15T10:30:00Z"
}
```
Both credentials are stored encrypted. The `region` selects the AWS Marketplace endpoint your usage is reported to.
### Connection Verification
Creating the connection immediately attempts to assume your role. The connection is only saved if that succeeds, so a successful response confirms your trust policy and external ID actually work rather than failing silently later.
If it fails, nothing is saved and you get a validation error. Fix the cause and create the connection again.
| Cause | Fix |
| ------------------------------------ | ---------------------------------------------------------------------- |
| Trust policy names the wrong account | Confirm the principal is the AWS account ID Flexprice showed you |
| External ID does not match | Confirm the `sts:ExternalId` condition matches the external ID exactly |
| Role ARN typo | Re-copy the ARN from the AWS IAM console |
| Policy not attached | Confirm the `BatchMeterUsage` policy is attached to the role |
## Next Steps
Link each buyer's AWS agreement to a Flexprice subscription.
Understand what gets metered to AWS and when.
Open the role and copy its ARN. It has the format `arn:aws:iam:::role/`.
## Step 3: Create the AWS Marketplace Connection
### Using Flexprice Dashboard
You can create an AWS Marketplace connection directly from the Flexprice dashboard under **Integrations → AWS Marketplace**.
### API Request
**Endpoint:** `POST /api/v1/connections`
**Headers:**
```http theme={null}
Content-Type: application/json
Authorization: Bearer your_api_key
X-Environment-ID: your_environment_id
```
**Request Body:**
```json theme={null}
{
"name": "AWS Marketplace",
"provider_type": "aws_marketplace",
"encrypted_secret_data": {
"role_arn": "",
"external_id": ""
},
"metadata": {
"aws_marketplace": {
"region": "us-east-1"
}
}
}
```
| Field | Description | Required |
| --------------- | -------------------------------------------------------------------- | -------- |
| `name` | A friendly name for the connection | ✅ |
| `provider_type` | Must be `aws_marketplace` | ✅ |
| `role_arn` | The ARN of the cross-account role from Step 2 | ✅ |
| `external_id` | The external ID Flexprice provided, matching the role's trust policy | ✅ |
| `region` | The AWS region your product is listed in, for example `us-east-1` | ✅ |
### Response
```json theme={null}
{
"id": "conn_01KX6ABC211T628N0NZHVMK2PZ",
"name": "AWS Marketplace",
"provider_type": "aws_marketplace",
"status": "published",
"created_at": "2026-07-15T10:30:00Z",
"updated_at": "2026-07-15T10:30:00Z"
}
```
Both credentials are stored encrypted. The `region` selects the AWS Marketplace endpoint your usage is reported to.
### Connection Verification
Creating the connection immediately attempts to assume your role. The connection is only saved if that succeeds, so a successful response confirms your trust policy and external ID actually work rather than failing silently later.
If it fails, nothing is saved and you get a validation error. Fix the cause and create the connection again.
| Cause | Fix |
| ------------------------------------ | ---------------------------------------------------------------------- |
| Trust policy names the wrong account | Confirm the principal is the AWS account ID Flexprice showed you |
| External ID does not match | Confirm the `sts:ExternalId` condition matches the external ID exactly |
| Role ARN typo | Re-copy the ARN from the AWS IAM console |
| Policy not attached | Confirm the `BatchMeterUsage` policy is attached to the role |
## Next Steps
Link each buyer's AWS agreement to a Flexprice subscription.
Understand what gets metered to AWS and when.