

Overview
A Stripe connection in Flexprice stores encrypted credentials that allow the system to interact with your Stripe account for:- Creating customers in Stripe
- Processing payment links via Stripe Checkout
- Receiving webhook notifications from Stripe
- Synchronizing customer data between systems
Video Walkthrough
Watch this step-by-step guide to setting up your Stripe connection:Prerequisites
Before setting up your Stripe connection, ensure you have:- Active Stripe Account - Sign up at stripe.com
- API Keys - Available in your Stripe Dashboard
- Webhook Endpoint - Configured in Stripe Dashboard
- Flexprice Environment - Valid tenant and environment IDs
Step 1: Gather Stripe Credentials
Required Credentials
Finding Your Credentials
-
API Keys:
- Go to Stripe Dashboard → Developers → API Keys
- Copy your
Secret key(starts withsk_) and yourPublishable key(starts withpk_) - Use test keys (
sk_test_,pk_test_) for development
-
Webhook Secret:
- Go to Stripe Dashboard → Developers → Webhooks
- Create or select your webhook endpoint
- Click “Reveal signing secret”
- Copy the secret (starts with
whsec_)
Step 2: Configure Webhook Endpoint in Stripe
Webhook URL Format
Required Webhook Events
Configure these events in your Stripe webhook endpoint:Setting Up the Webhook
- Go to Stripe Dashboard → Developers → Webhooks
- Click + Add endpoint
- Enter your webhook URL
- Select the required events listed above
- Click Add endpoint
- Copy the Signing secret for your connection
Step 3: Create the Stripe Connection
Using Flexprice Dashboard
1
Open Stripe in Integrations
In the left sidebar, click Integrations, then click Connect on the Stripe card.
2
Enter your credentials
Enter a Connection name, your Secret key, and your Publishable key, then click Continue. Keys are encrypted and never shown again.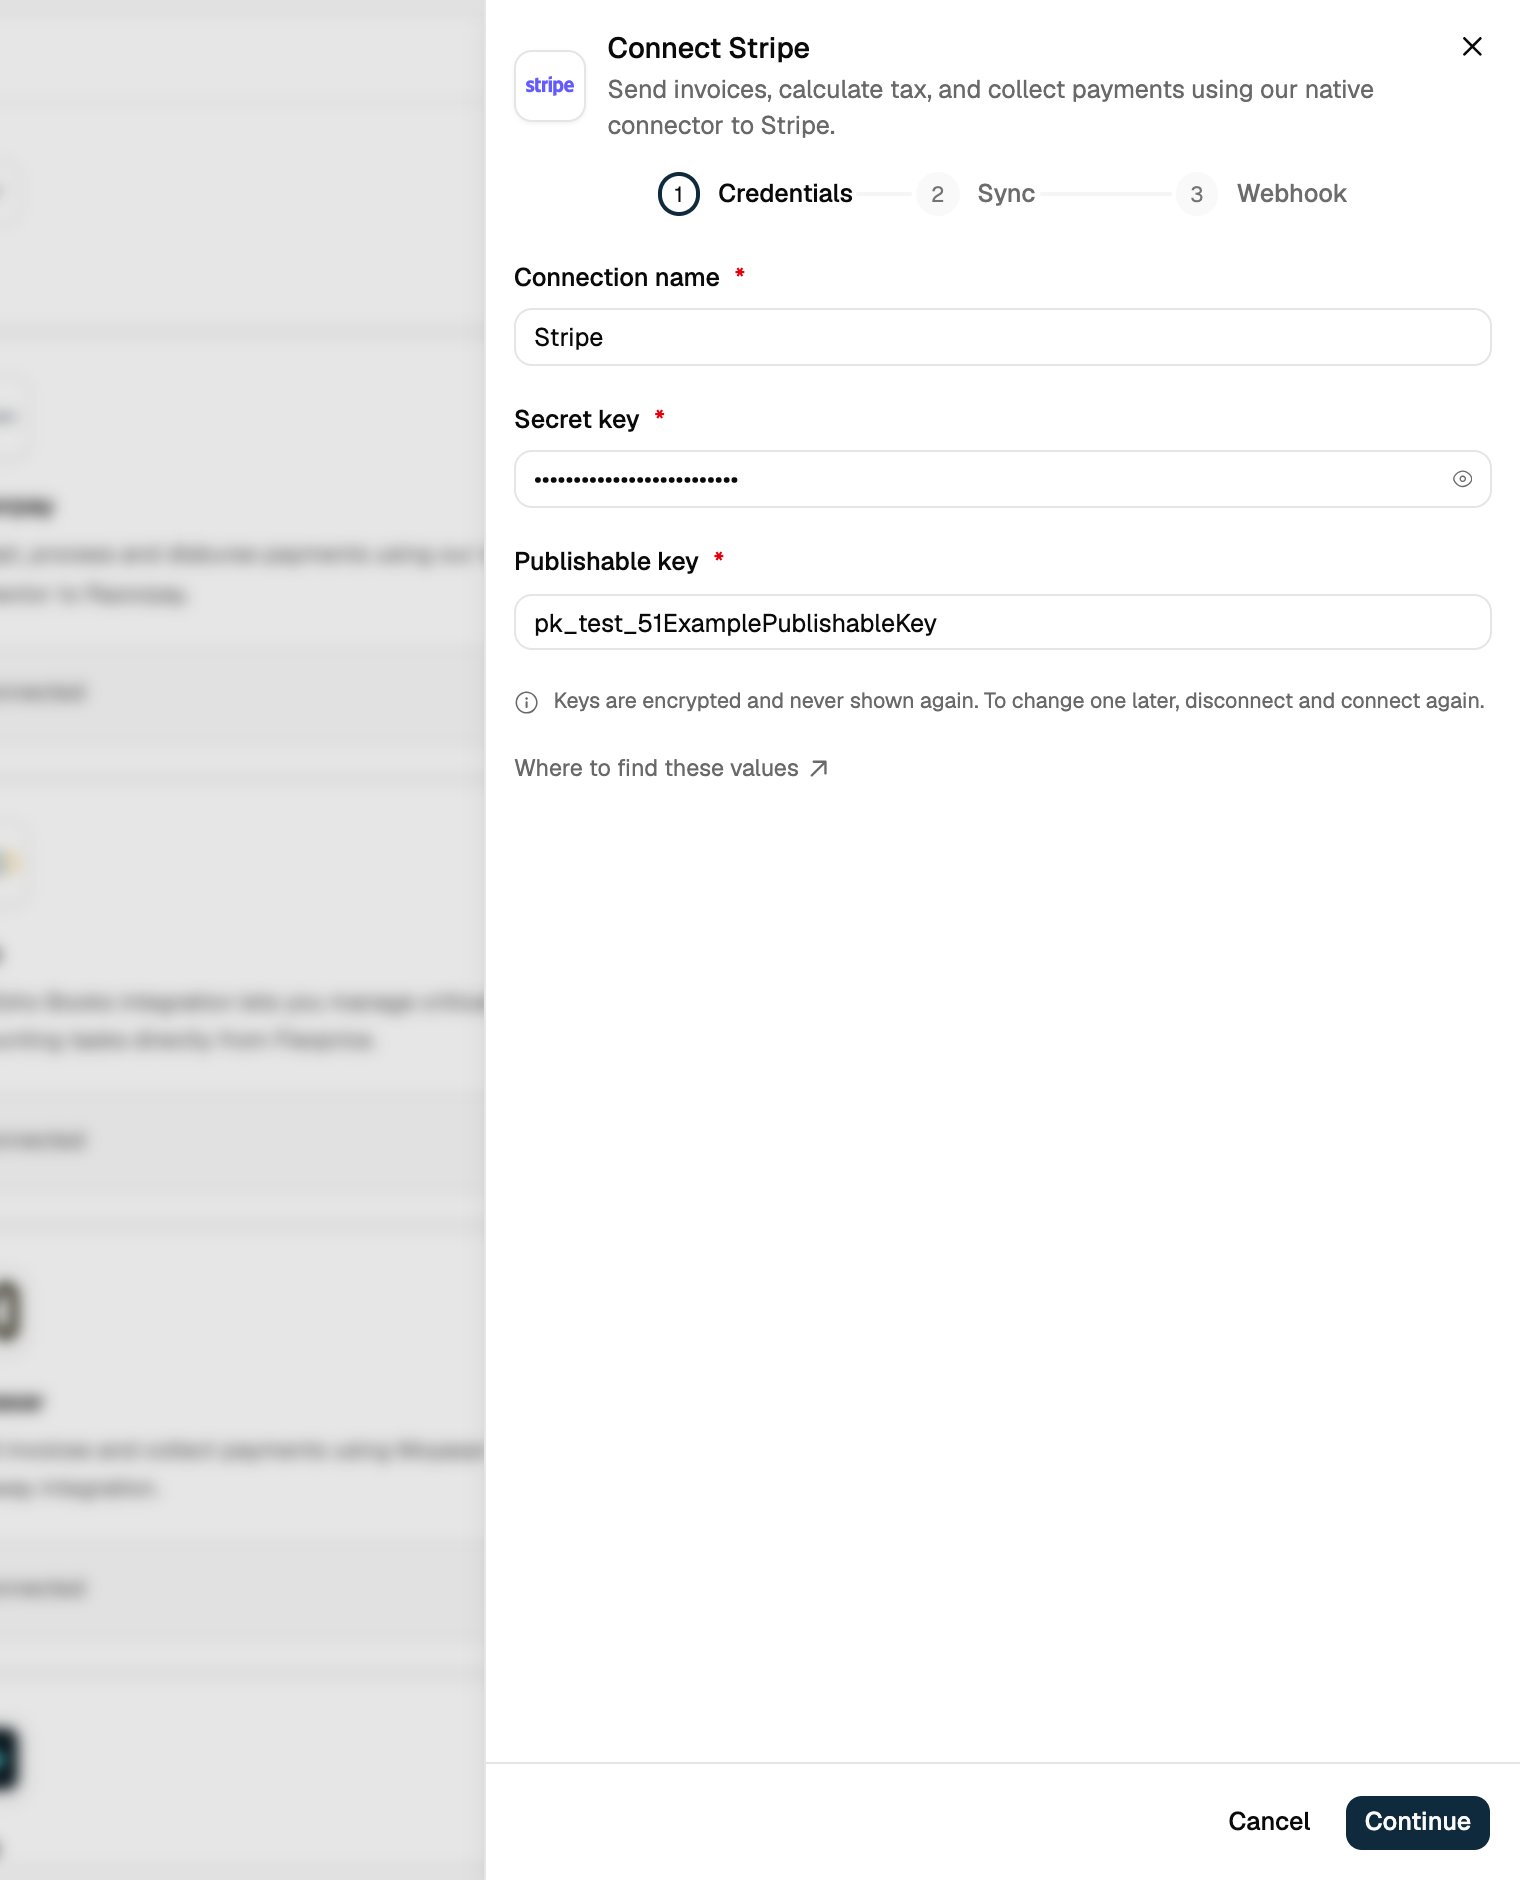
3
Choose what syncs
Switch on what should move between Flexprice and Stripe: Pull plans, Pull subscriptions, Push invoices, and Push prices. Nothing syncs until you switch it on, and you can change it later. Click Continue.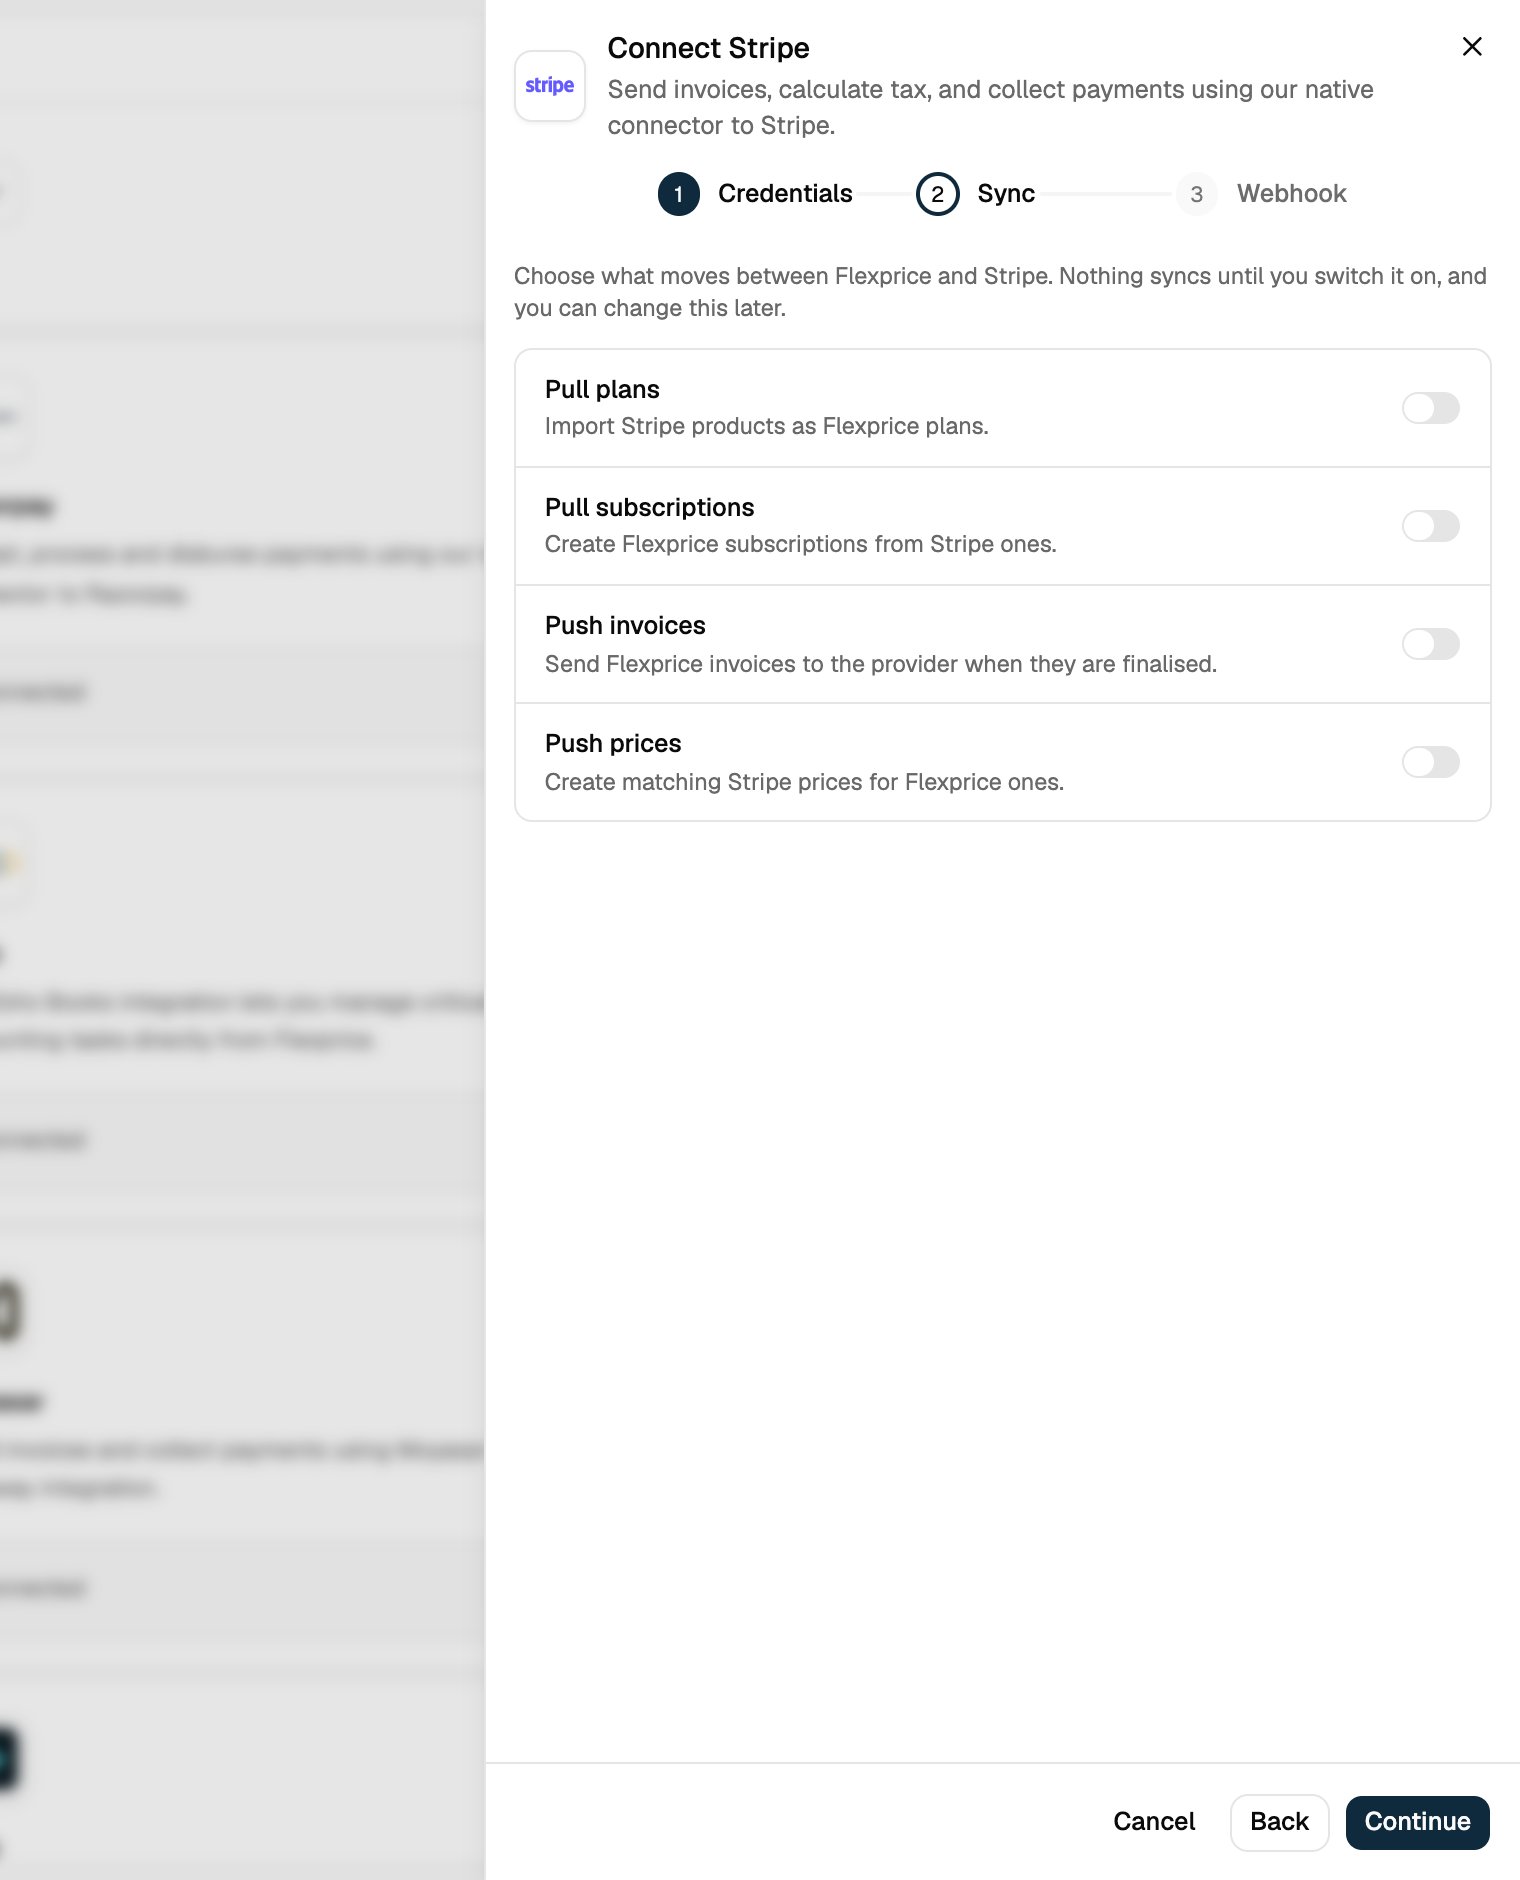
4
Add the webhook
The Webhook step shows your Webhook URL and the Events to send. Add them to a Stripe webhook as in Step 2, paste the signing secret Stripe gives you into Webhook signing secret, and click Connect Stripe.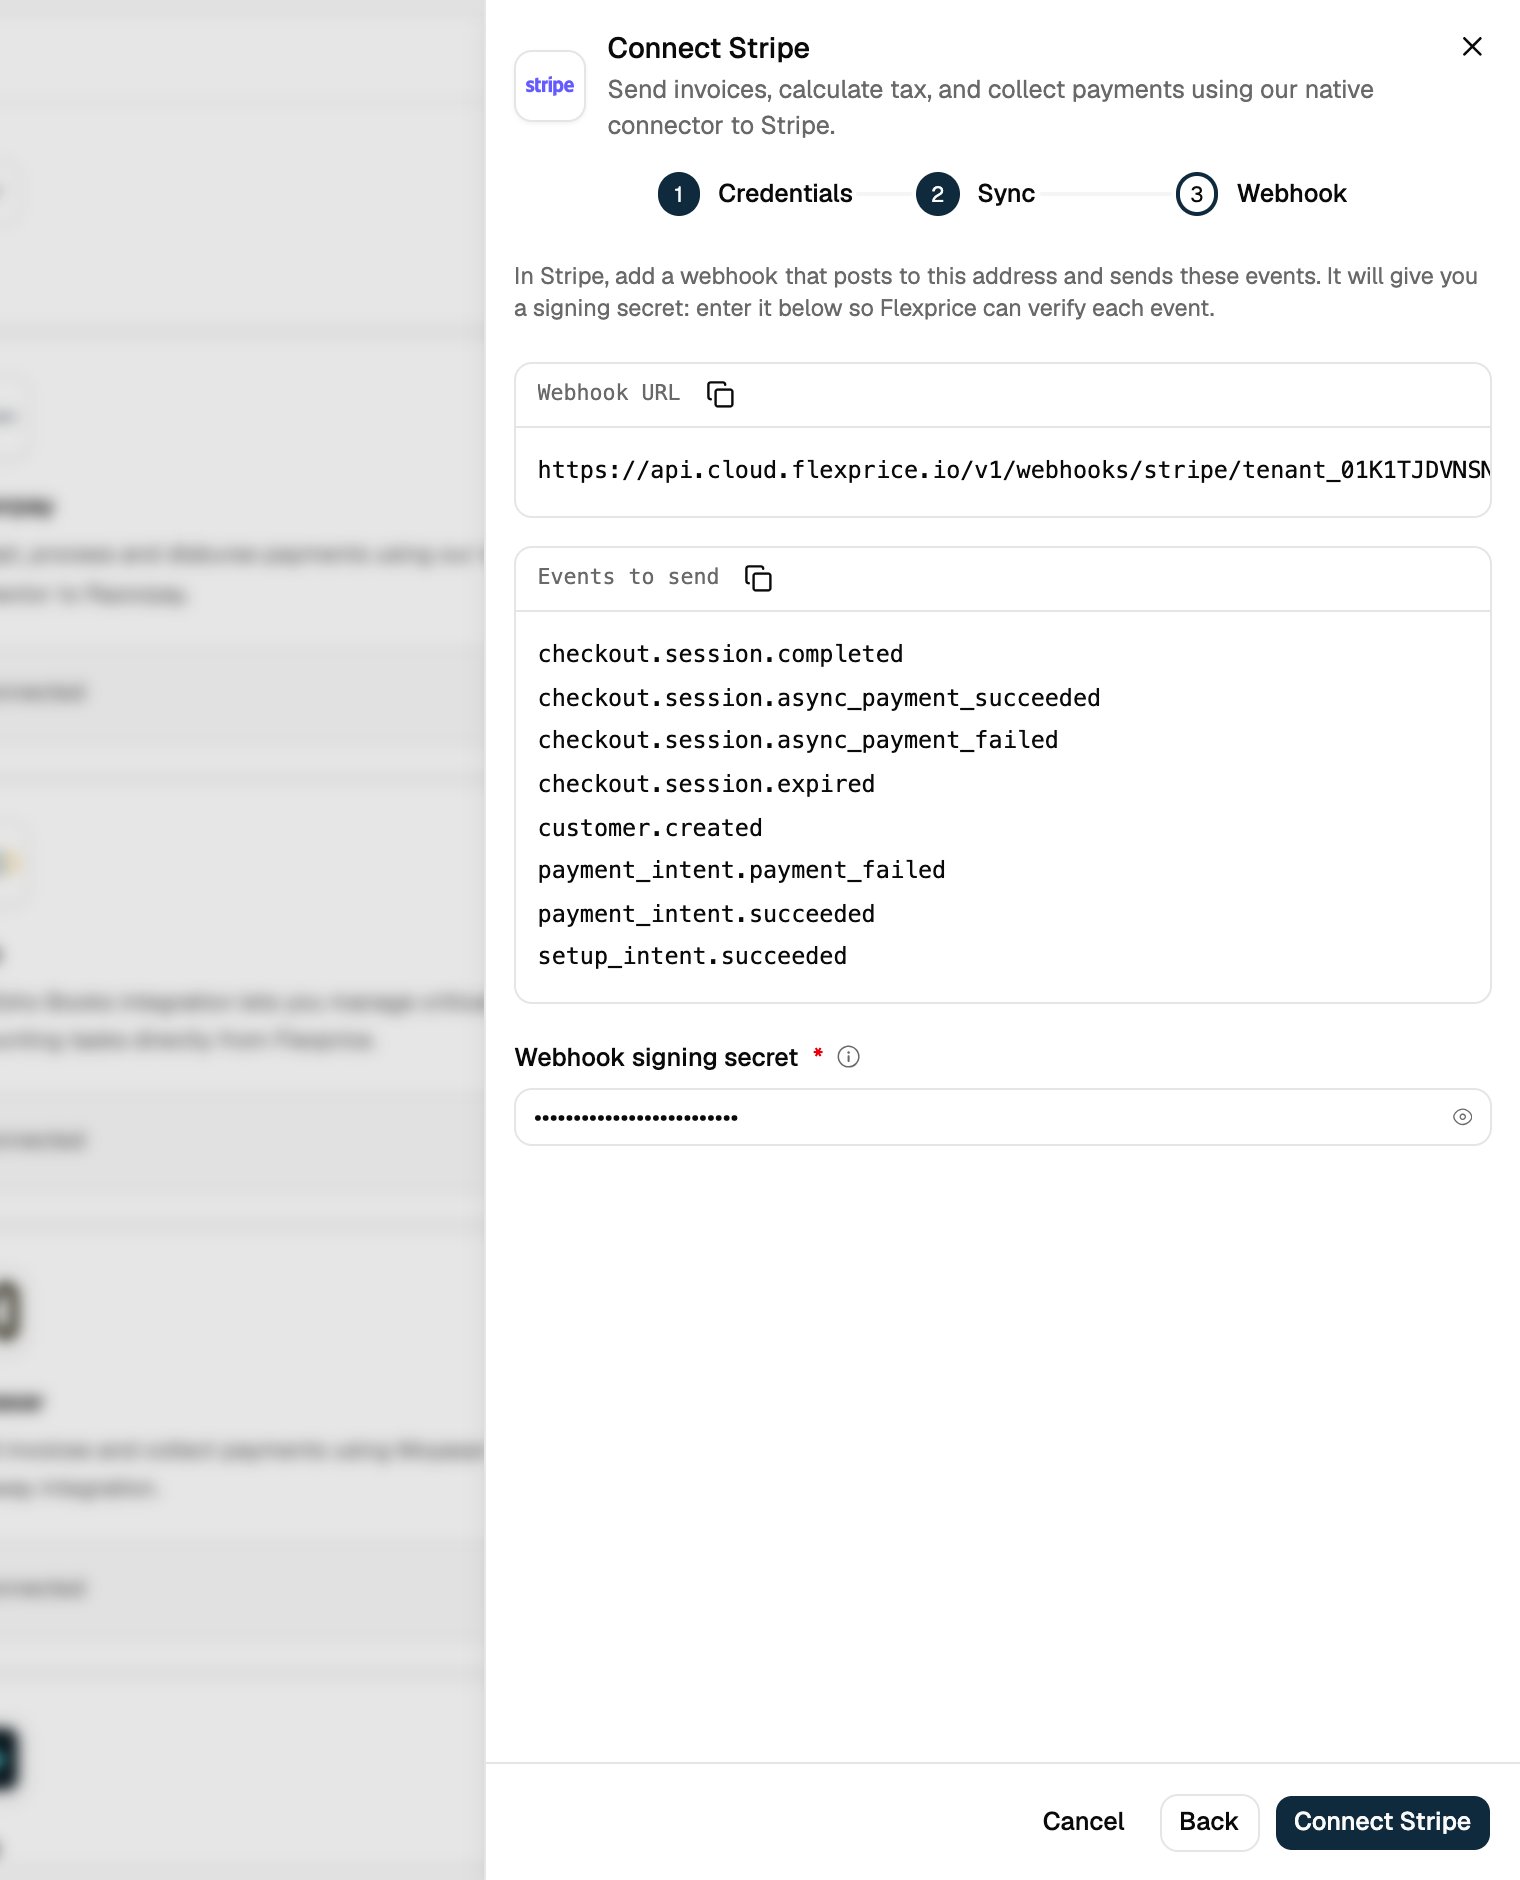
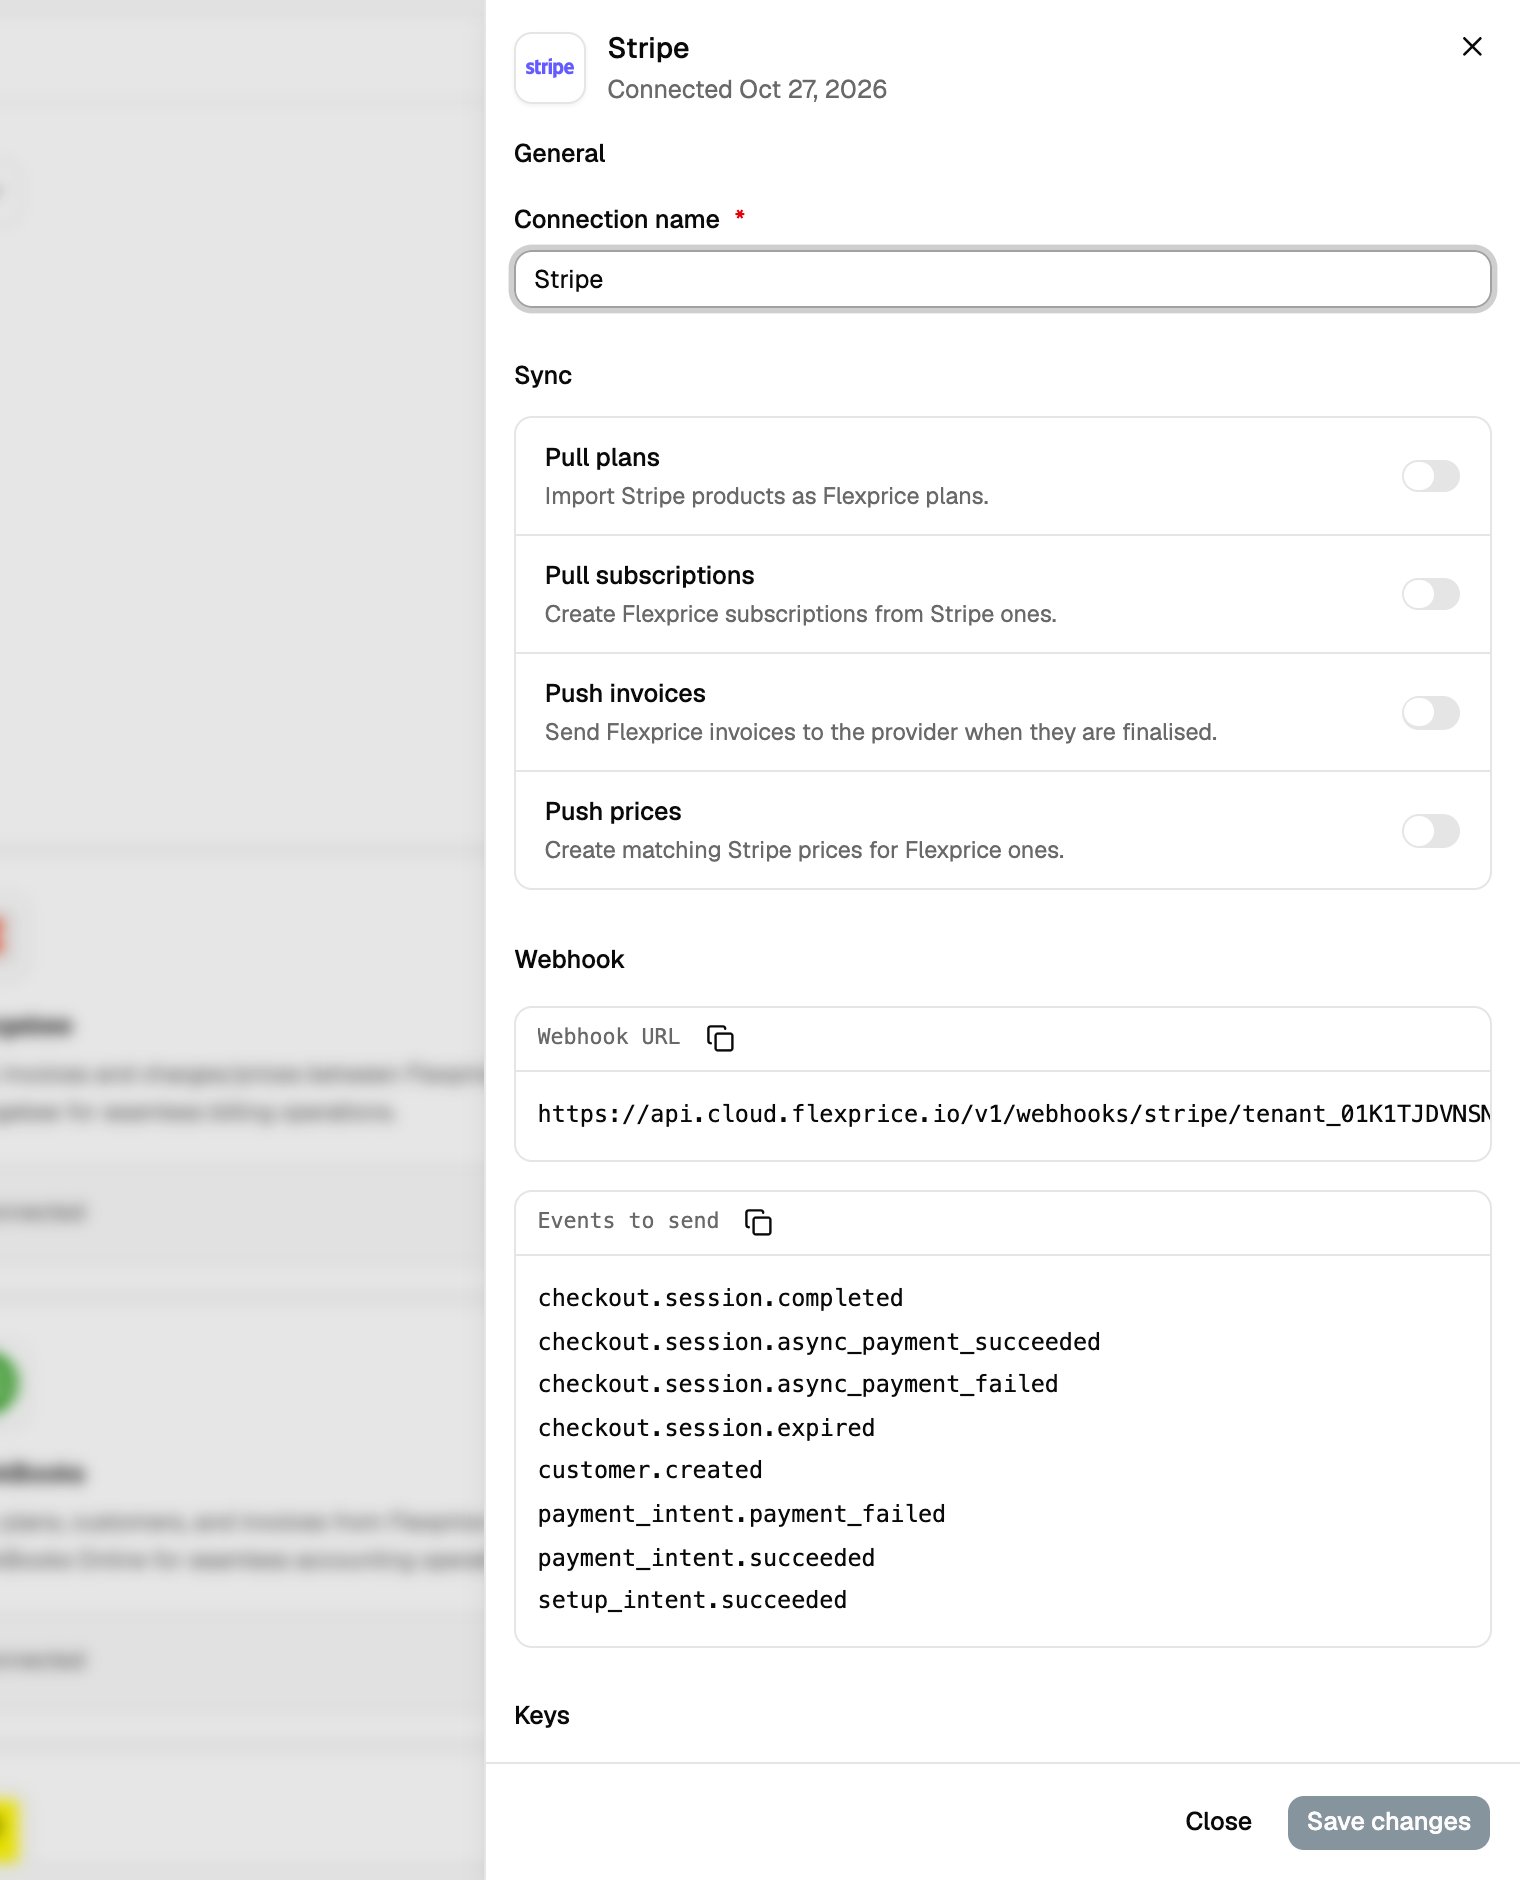
API Request
Endpoint:POST /v1/connections
Headers:
Response
Security Best Practices
Credential Management
- Environment Separation: Use different keys for test/production
- Key Rotation: Regularly rotate your Stripe API keys
- Access Control: Limit API key permissions in Stripe
- Encryption: All credentials are encrypted at rest in Flexprice
Webhook Security
- HTTPS Only: Always use HTTPS for webhook endpoints
- Signature Verification: Flexprice verifies all webhook signatures
- Secret Management: Keep webhook secrets secure and rotate regularly
- Rate Limiting: Implement rate limiting on webhook endpoints
Troubleshooting
Common Issues
Debug Steps
- Check Stripe Dashboard: Verify API keys and webhook configuration
- Test API Keys: Use Stripe CLI to test API key validity
- Monitor Webhooks: Check webhook delivery logs in Stripe
- Review Logs: Check Flexprice application logs for errors
Next Steps
After setting up your Stripe connection:- Test Customer Sync: Create a test customer and sync to Stripe
- Create Payment Links: Test payment link creation and flow
- Monitor Webhooks: Ensure webhook events are being received
- Go Live: Switch to production keys when ready