Via API
Request fields
Add charges
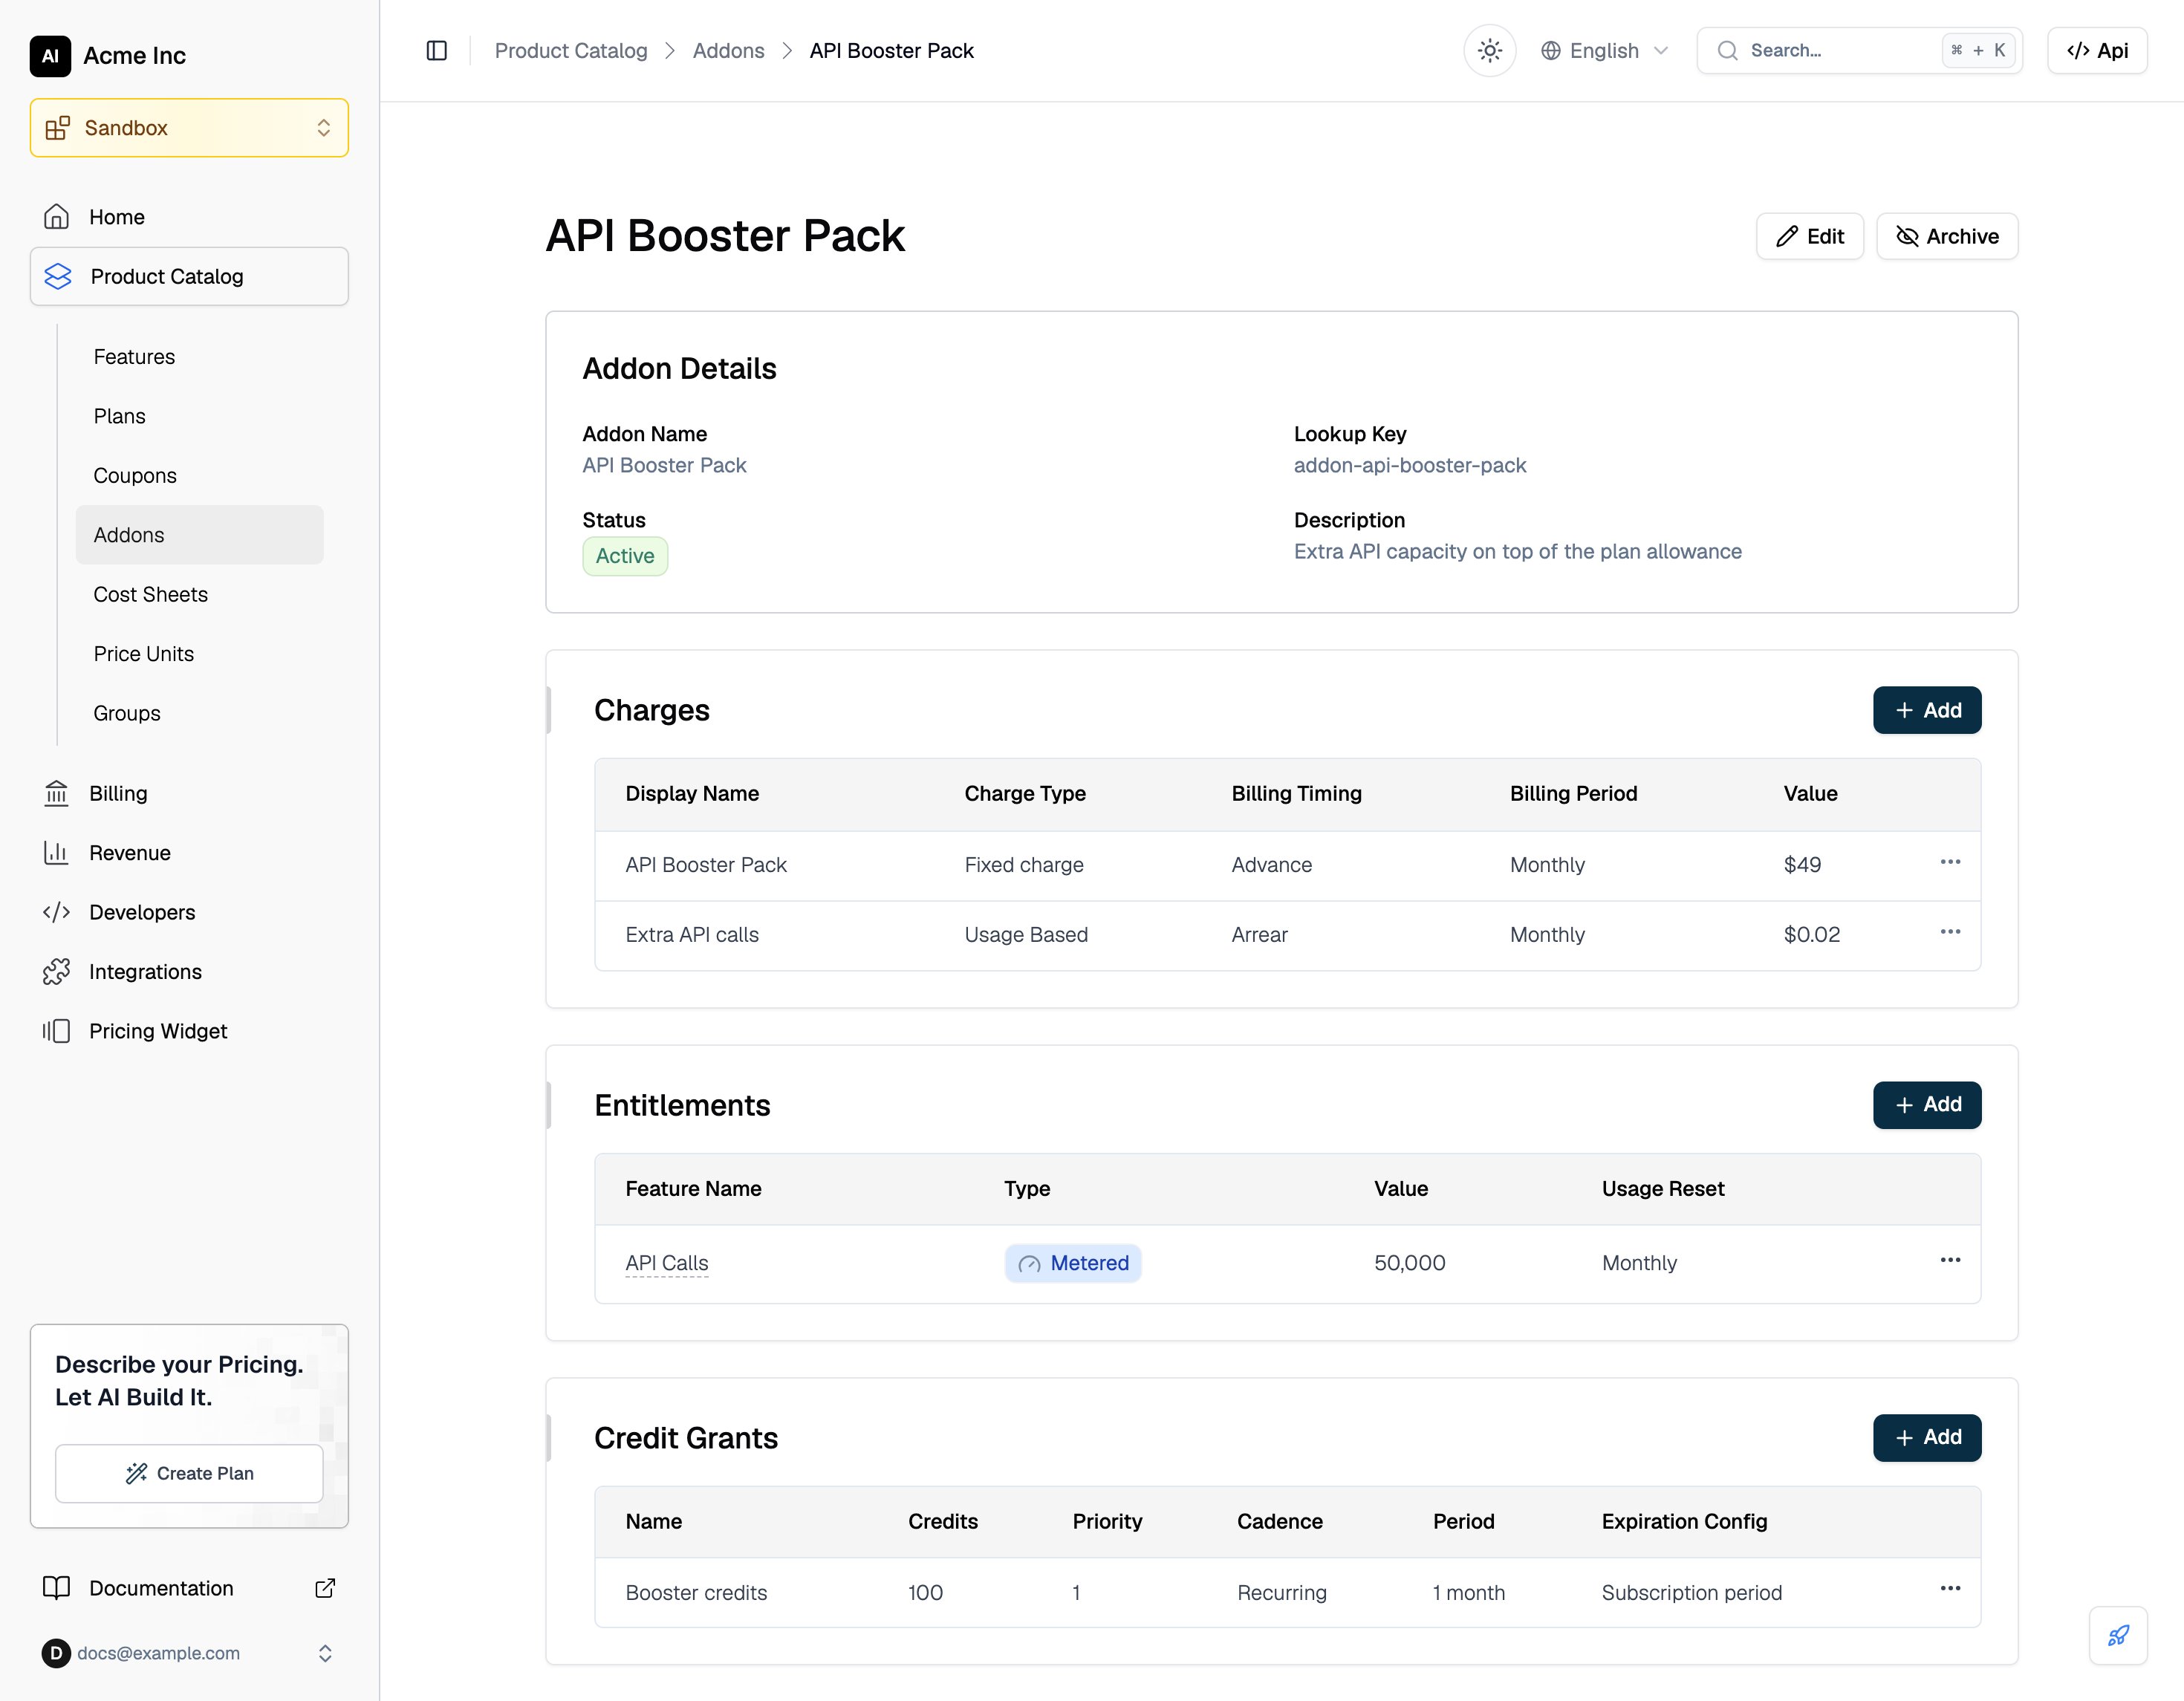
Charges are prices created withentity_type: "ADDON". They use the same billing models, periods, and invoice cadences as plan prices.
A fixed monthly charge billed in advance:
display_namedefaults to the addon’s name on fixed charges.min_quantityon a fixed charge becomes the default quantity when the addon is attached.- A charge’s billing period does not have to match the subscription’s. At attach time, a charge is included when its period equals the subscription period or divides evenly into it, and one-time charges are always included. See compatibility rules.
POST /v1/prices/bulkcreates several charges in one call.
Add entitlements
Entitlements are created withentity_type: "ADDON" and carry the same fields as plan entitlements:
aggregation_mode controls stacking when the customer also holds a plan allowance on the same feature: additive merges both into one pool, parallel keeps a separate window per source. parallel works only for grant-based allowances; on a legacy allowance it fails with Parallel buckets only exist for grant-based entitlements; legacy entitlements always aggregate additively. Entitlement grants covers stacking, grant quotas, and the other fields in detail.
Every attachment adds its own copy of the addon’s entitlements. A subscription holding the same addon twice gets twice the allowance.
Add credit grants
A credit grant on an addon is a template. Nothing is granted until the addon is attached to a subscription; at that point the grant is cloned to the subscription and credits the customer’s prepaid wallet.scope: "ADDON"requiresaddon_id, and the addon must be published.start_dateandend_dateare not allowed on addon-scoped grants; the association’s dates apply instead.- All grants on one addon must share the same
conversion_rateandtopup_conversion_rate.
Manage existing addons
archived and it can no longer be attached. Only an addon that no subscription has ever used can be archived. Any active association, or any line item left by a past attachment, blocks the delete, which fails with Addon is currently active on one or more subscriptions. Remove it from all subscriptions before deleting.
Via dashboard
1
Create the addon
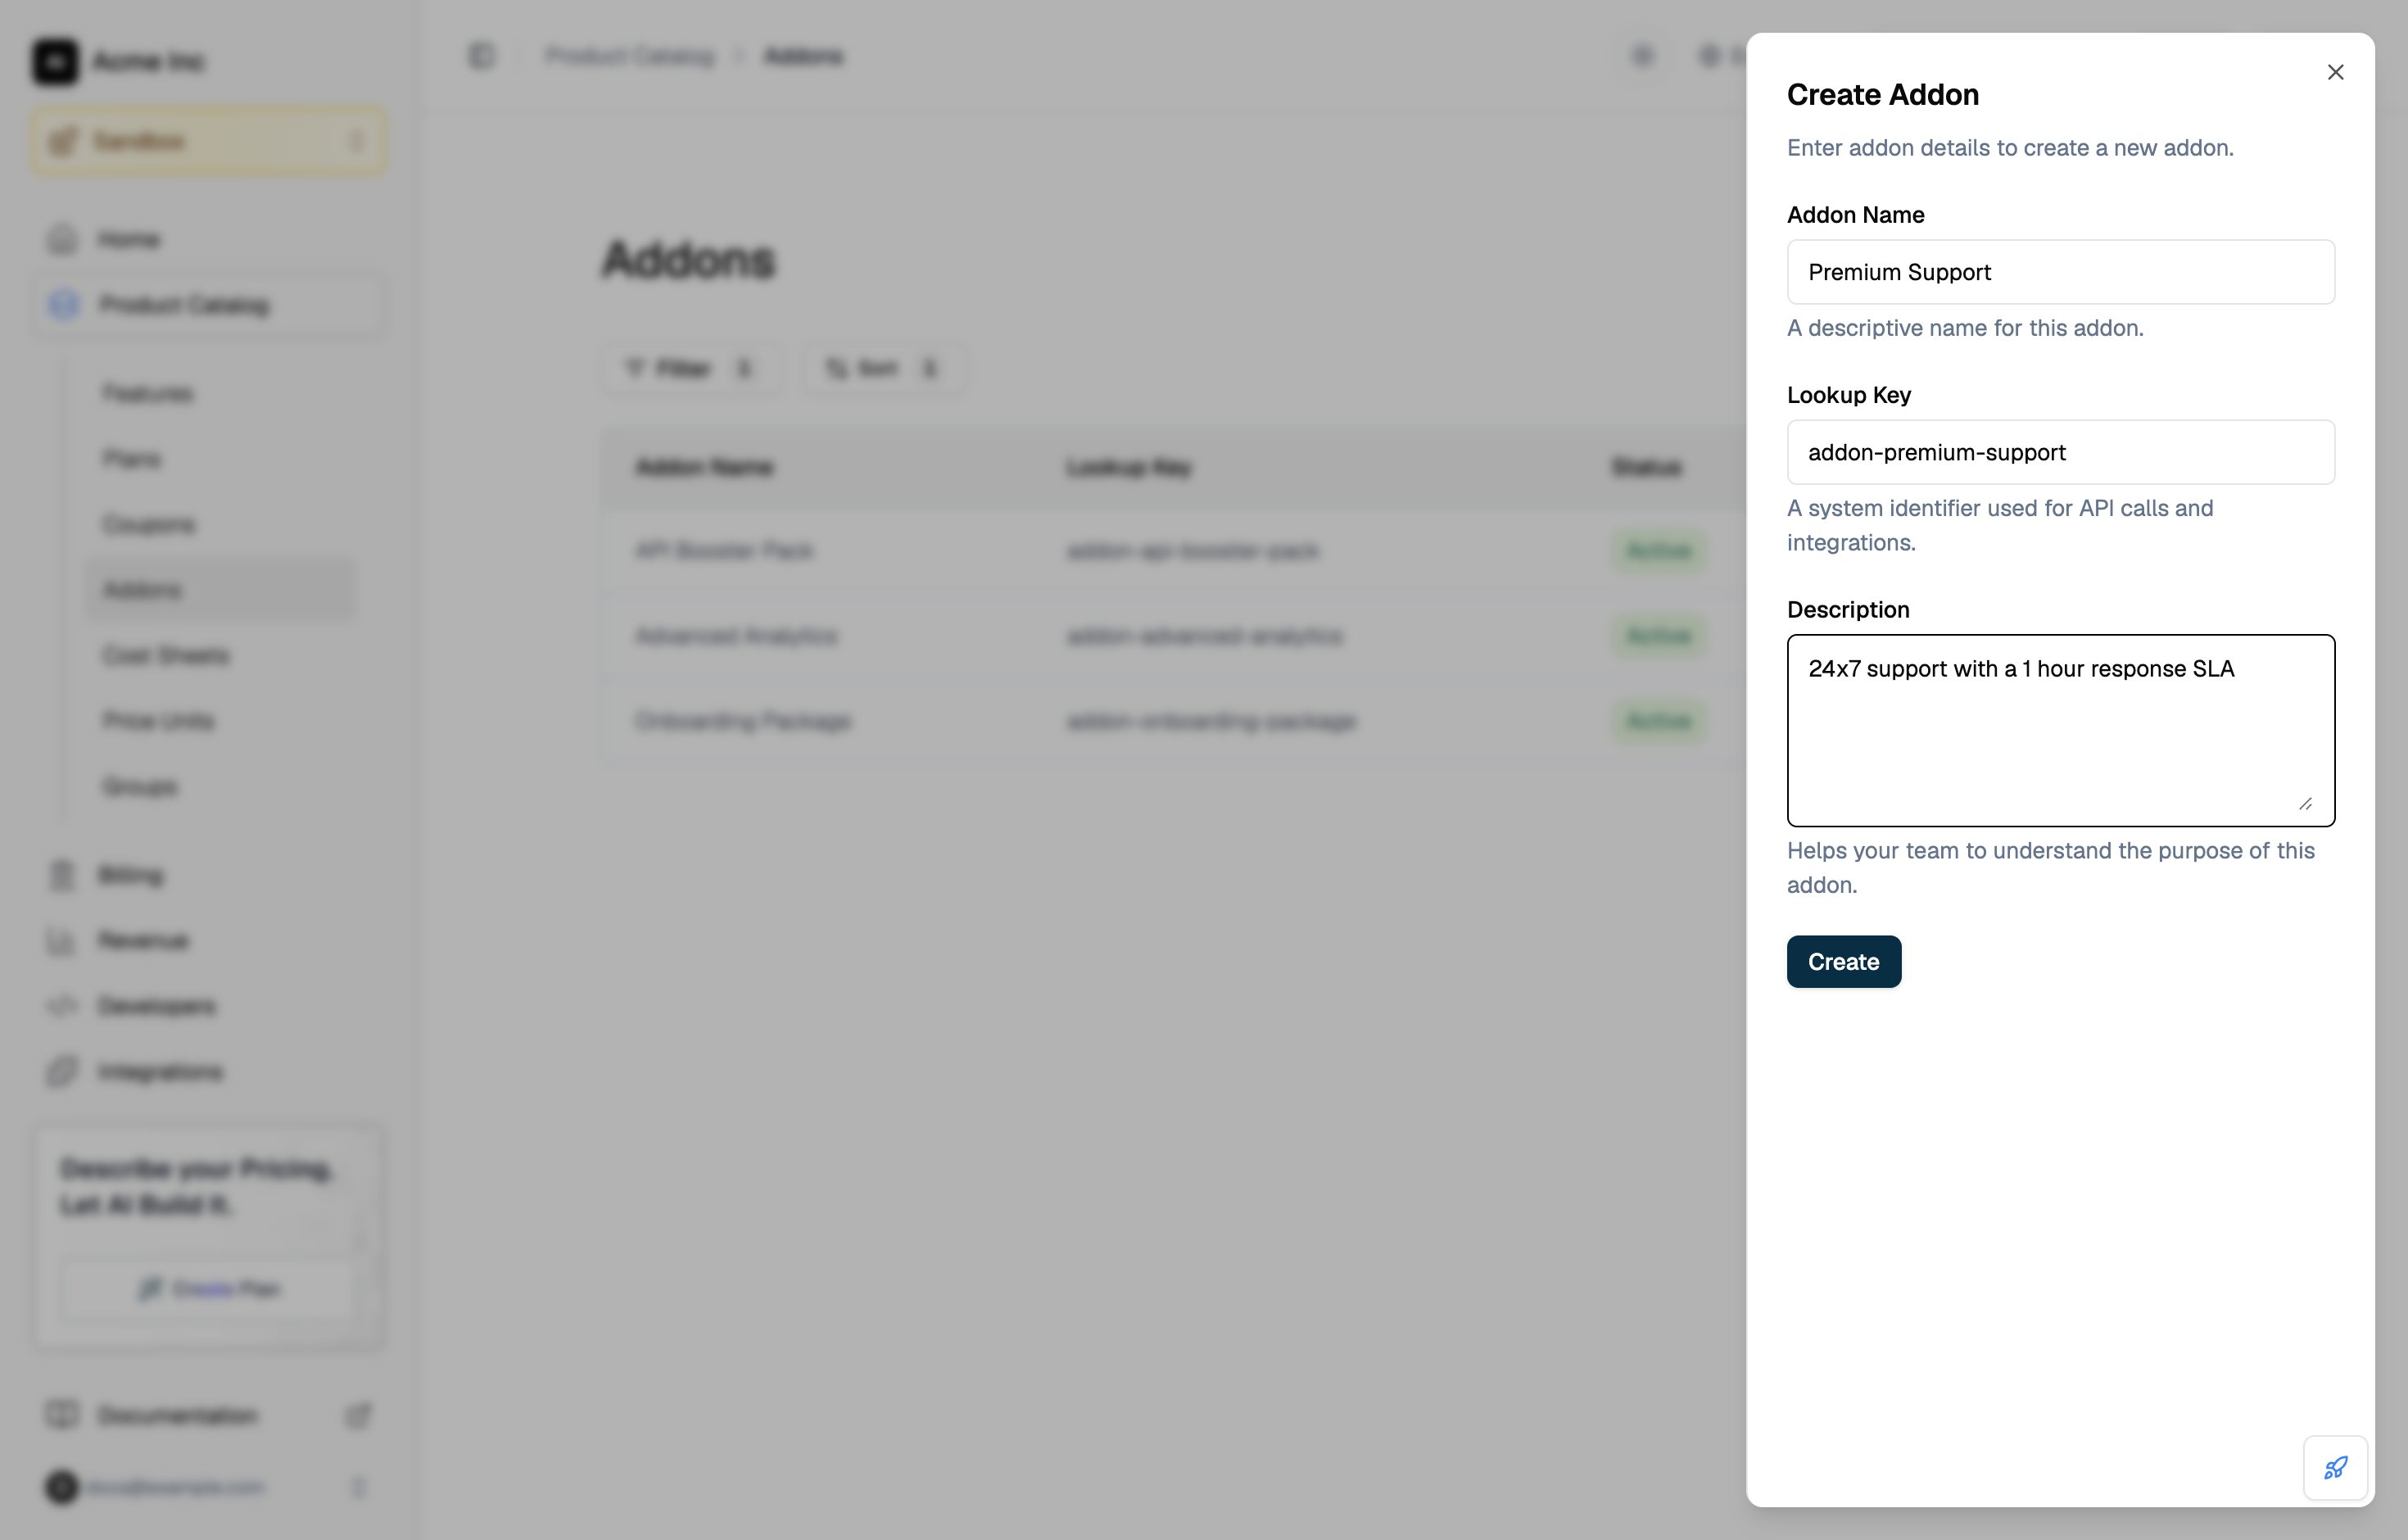
Go to Product Catalog > Addons and click Add.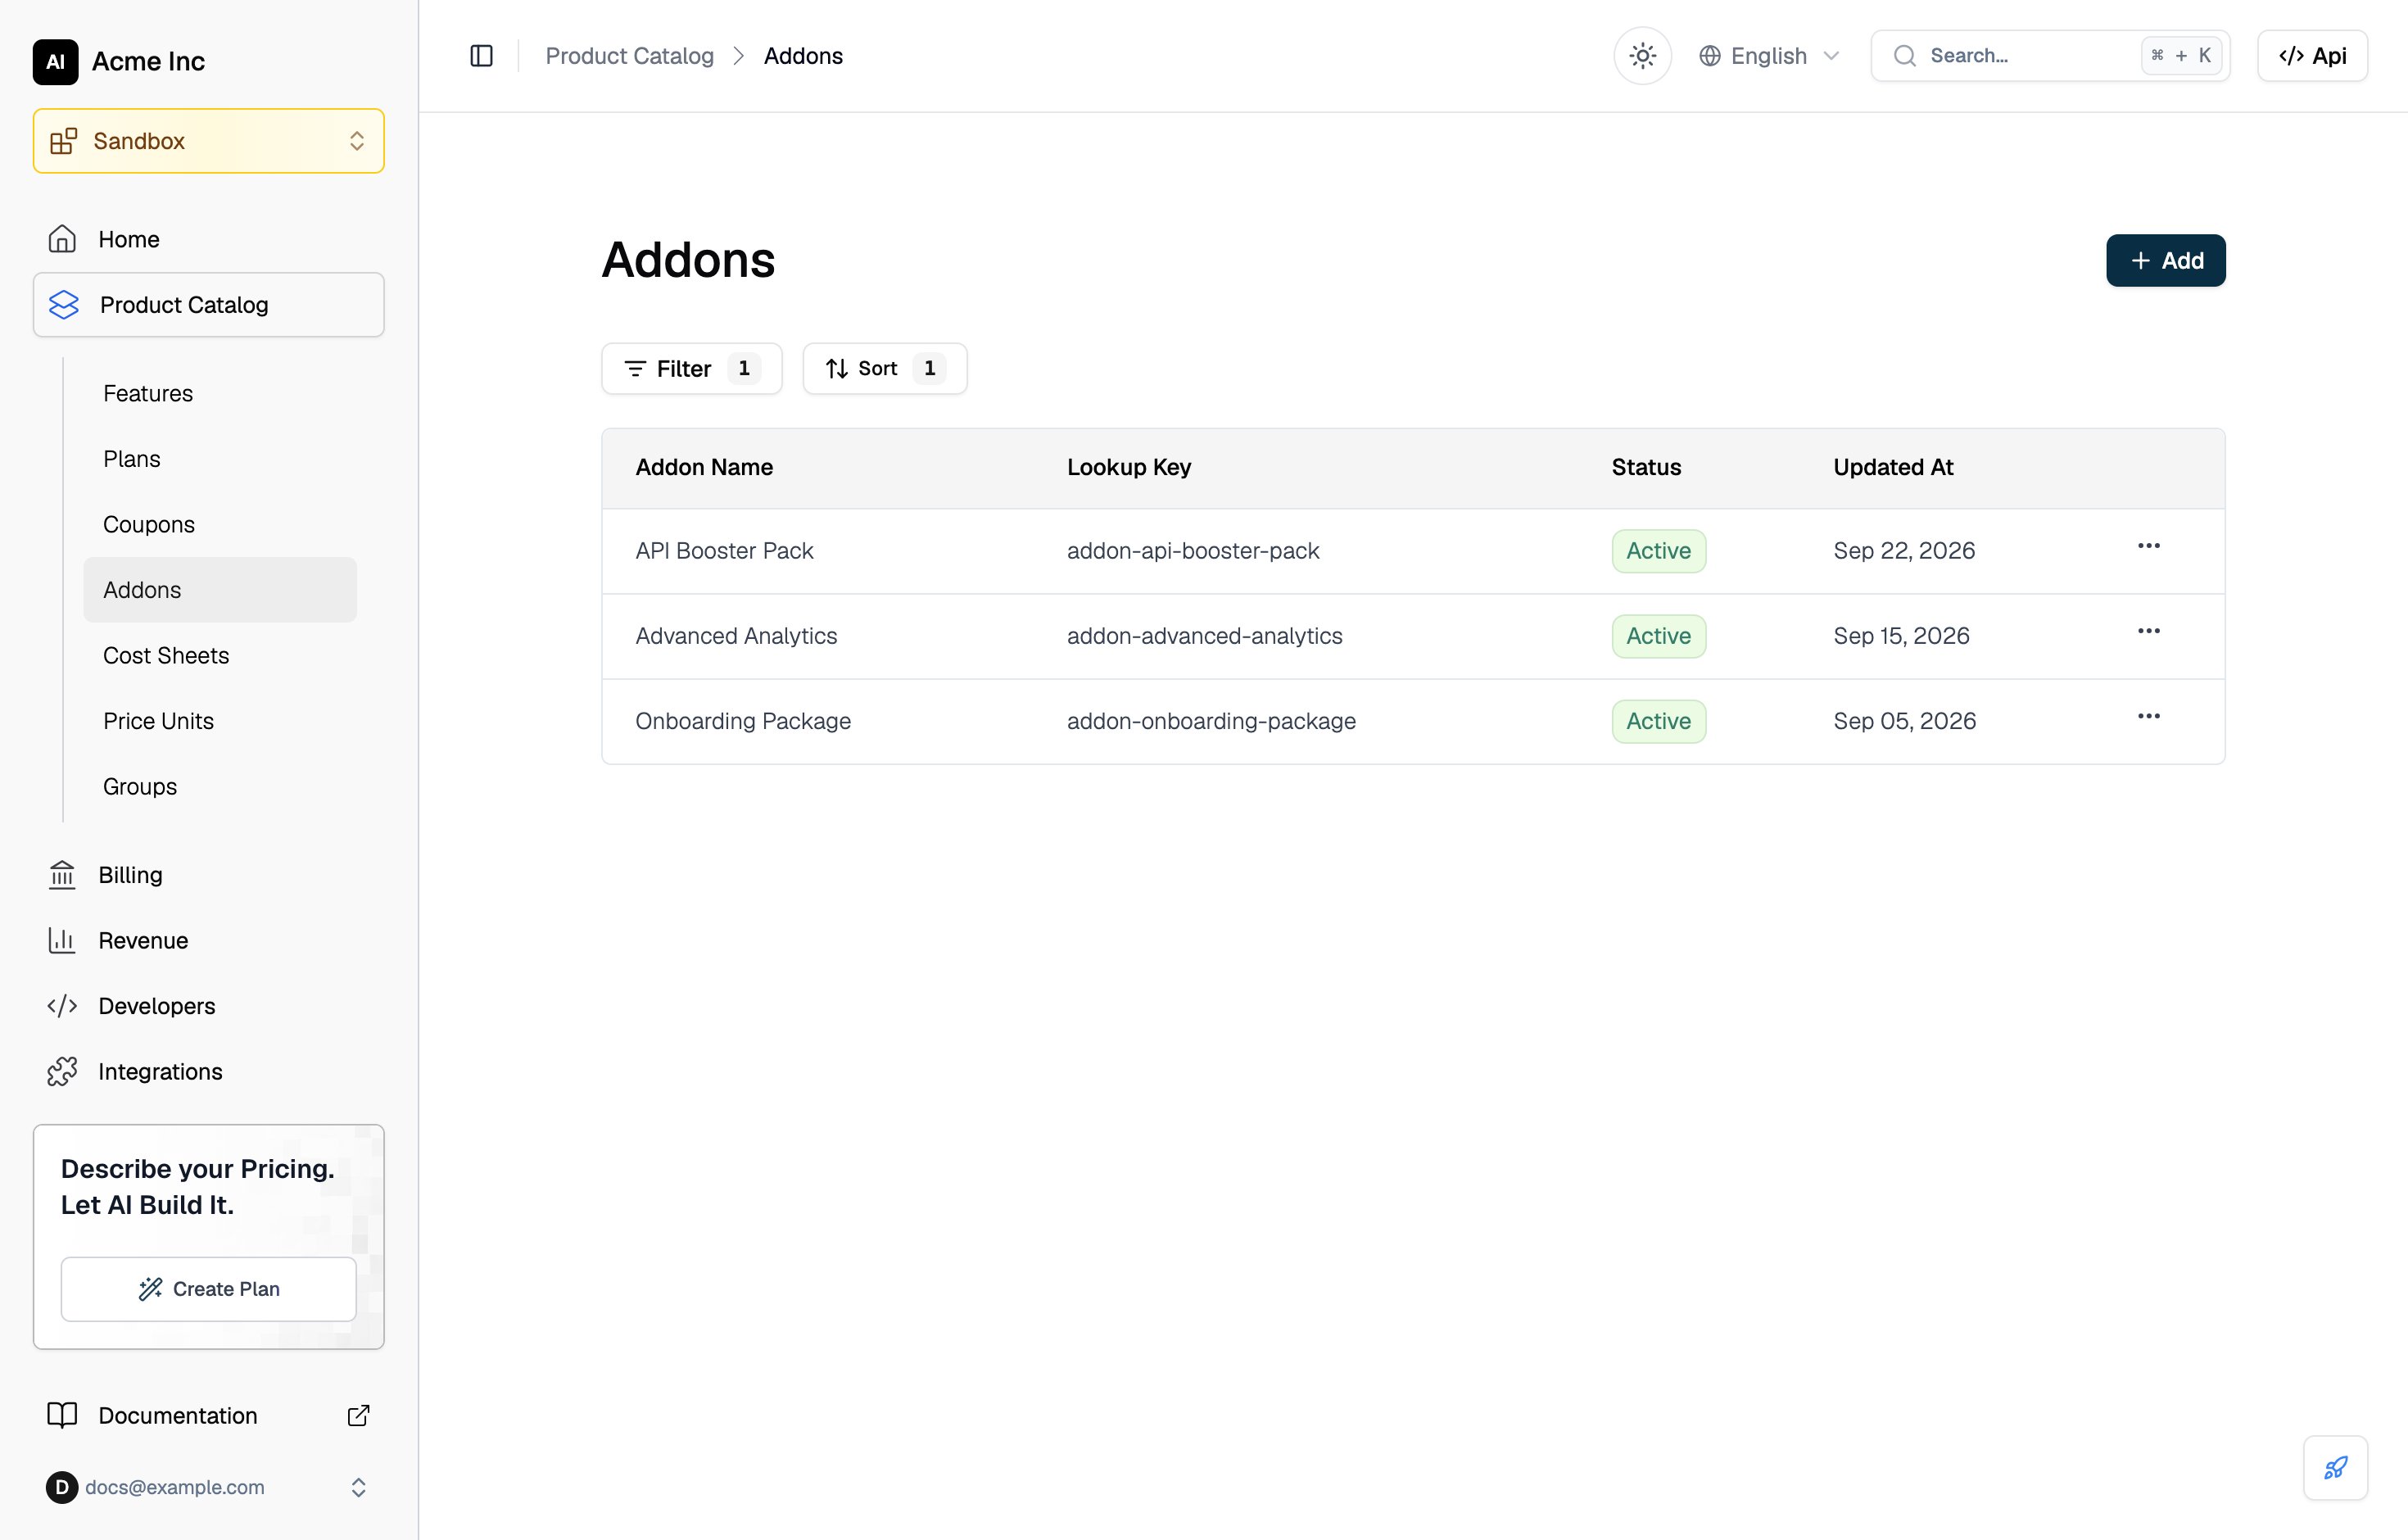
2
Add charges
In the Charges card, click Add to open the Add charges to Addon page. Pick Fixed charges or Usage Charges, fill in the currency, billing period, billing model, and price (a usage charge also needs its Feature), and click Add on the charge form. Repeat with Add fixed charge or Add Usage Based Charges for more, then click Save.
3
Add entitlements
In the Entitlements card, click Add and select a feature. For a metered feature, set its value and Usage resets window. Unless the value is unlimited, Advanced holds Stacking (Additive or Parallel) and, when usage does not reset every billing period, Window starts. Click Add under the feature, then Save.
4
Add credit grants
In the Credit Grants card, click Add. Choose a one-time or recurring Credit Type, set the Credits amount and Priority, and click Add Credit.