

- Navigate to the Customers Dashboard.
-
Click on the customer you want to create a subscription for. This will open the customer’s details page.
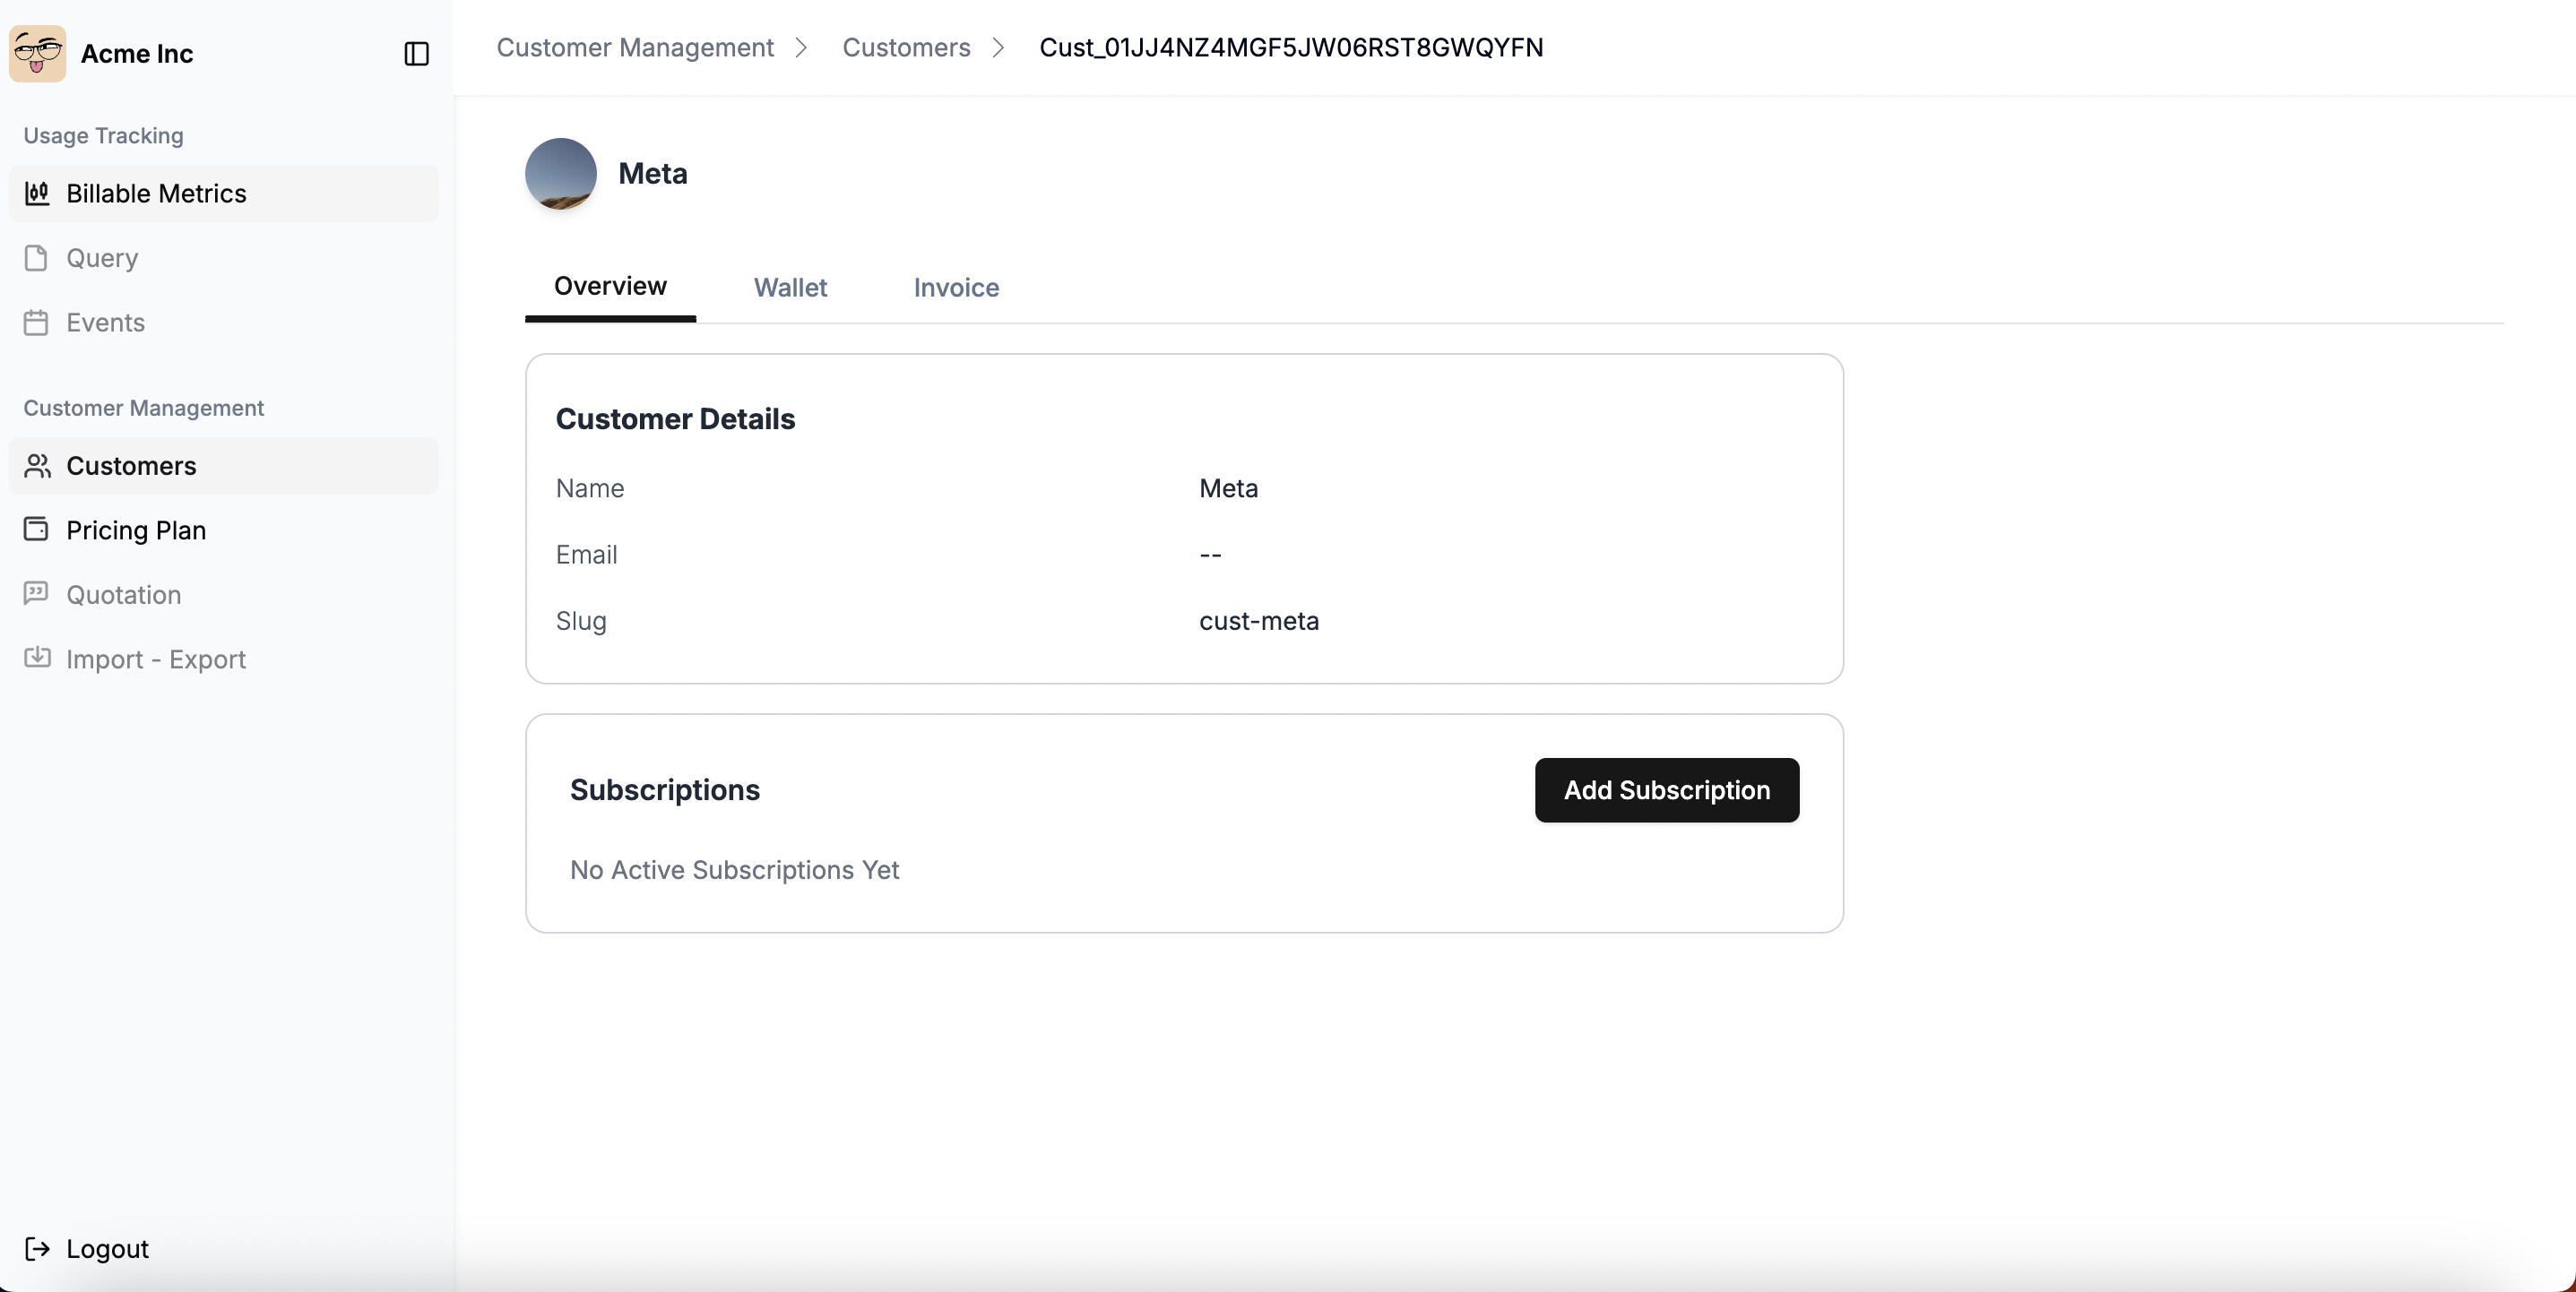
- On the customer details page, click the Add Subscription button.
-
Select a pricing plan from the dropdown menu. Only plans that have been created will be listed.

-
Based on the selected plan, subscription preview along with breakdown of charges will appear on the right side of the screen. This includes all recurring charges and usage-based charges that you’ve created in the plan for the given billing period.
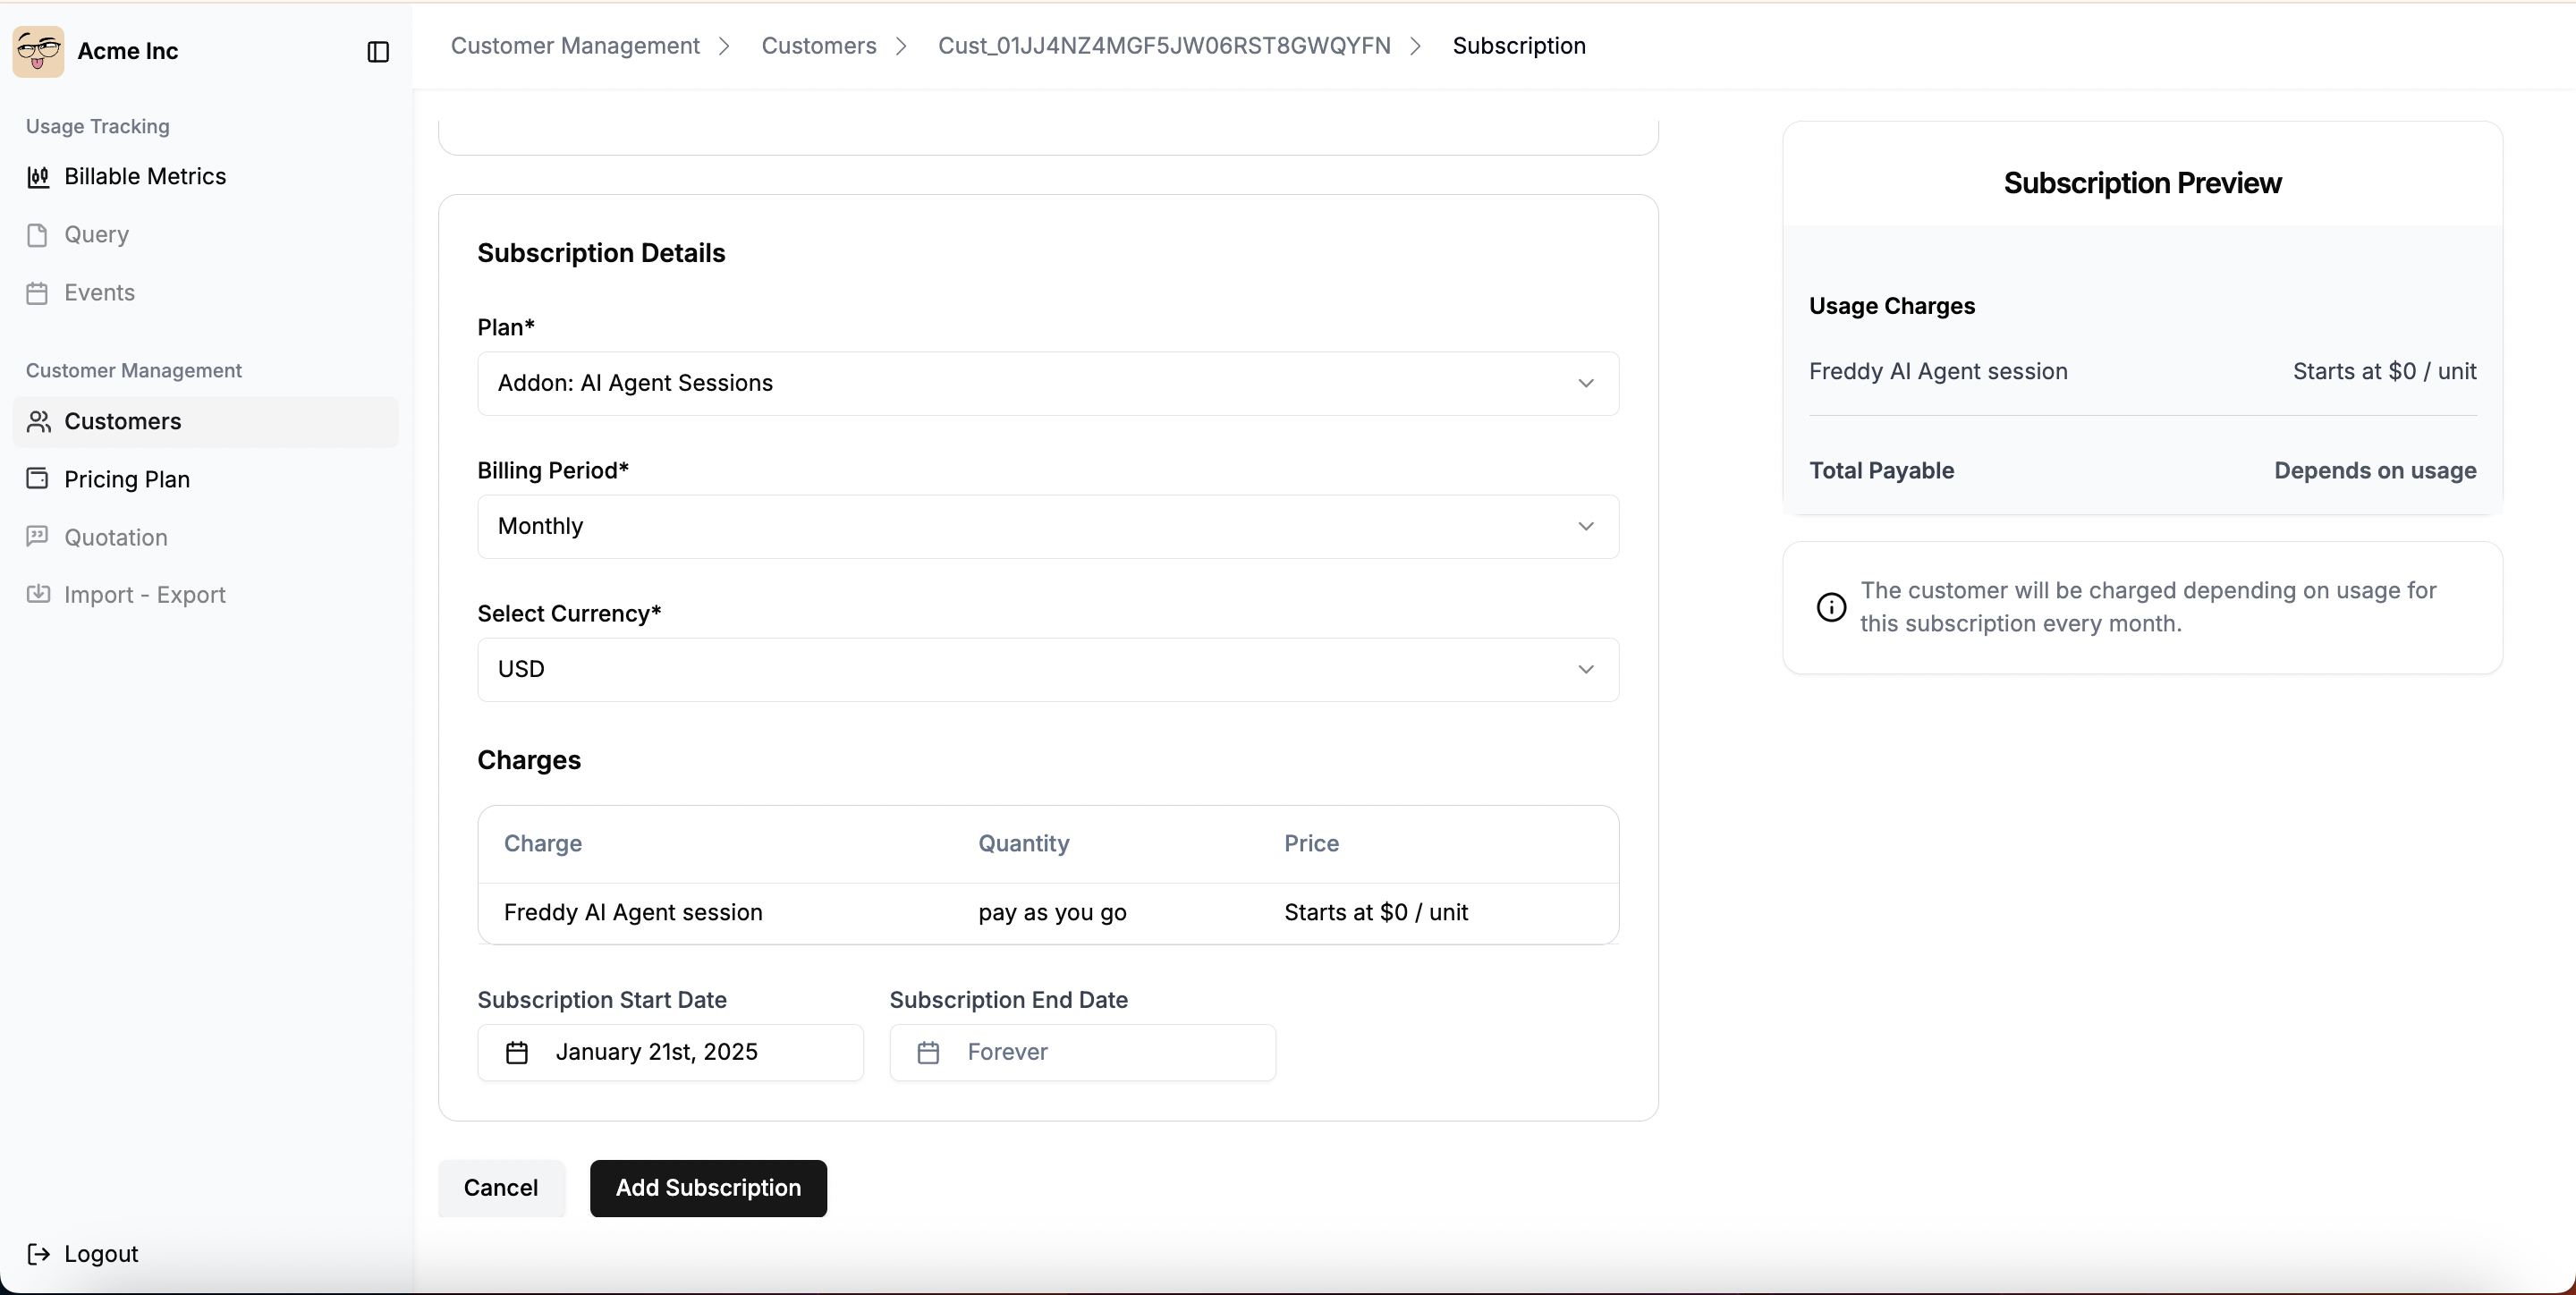
- Specify the Subscription Start Date thats marks as the beginning of the billing cycle.
- Define the Subscription End Date if required. By default, this is set to “Forever.”
- Optional: Configure Override Line Items - If you need to customize pricing for this specific subscription, you can add override line items to modify amounts, quantities, billing models, or tier structures. See Subscription Override Line Items for detailed information.
- Once all details are entered, click Add Subscription to save.
-
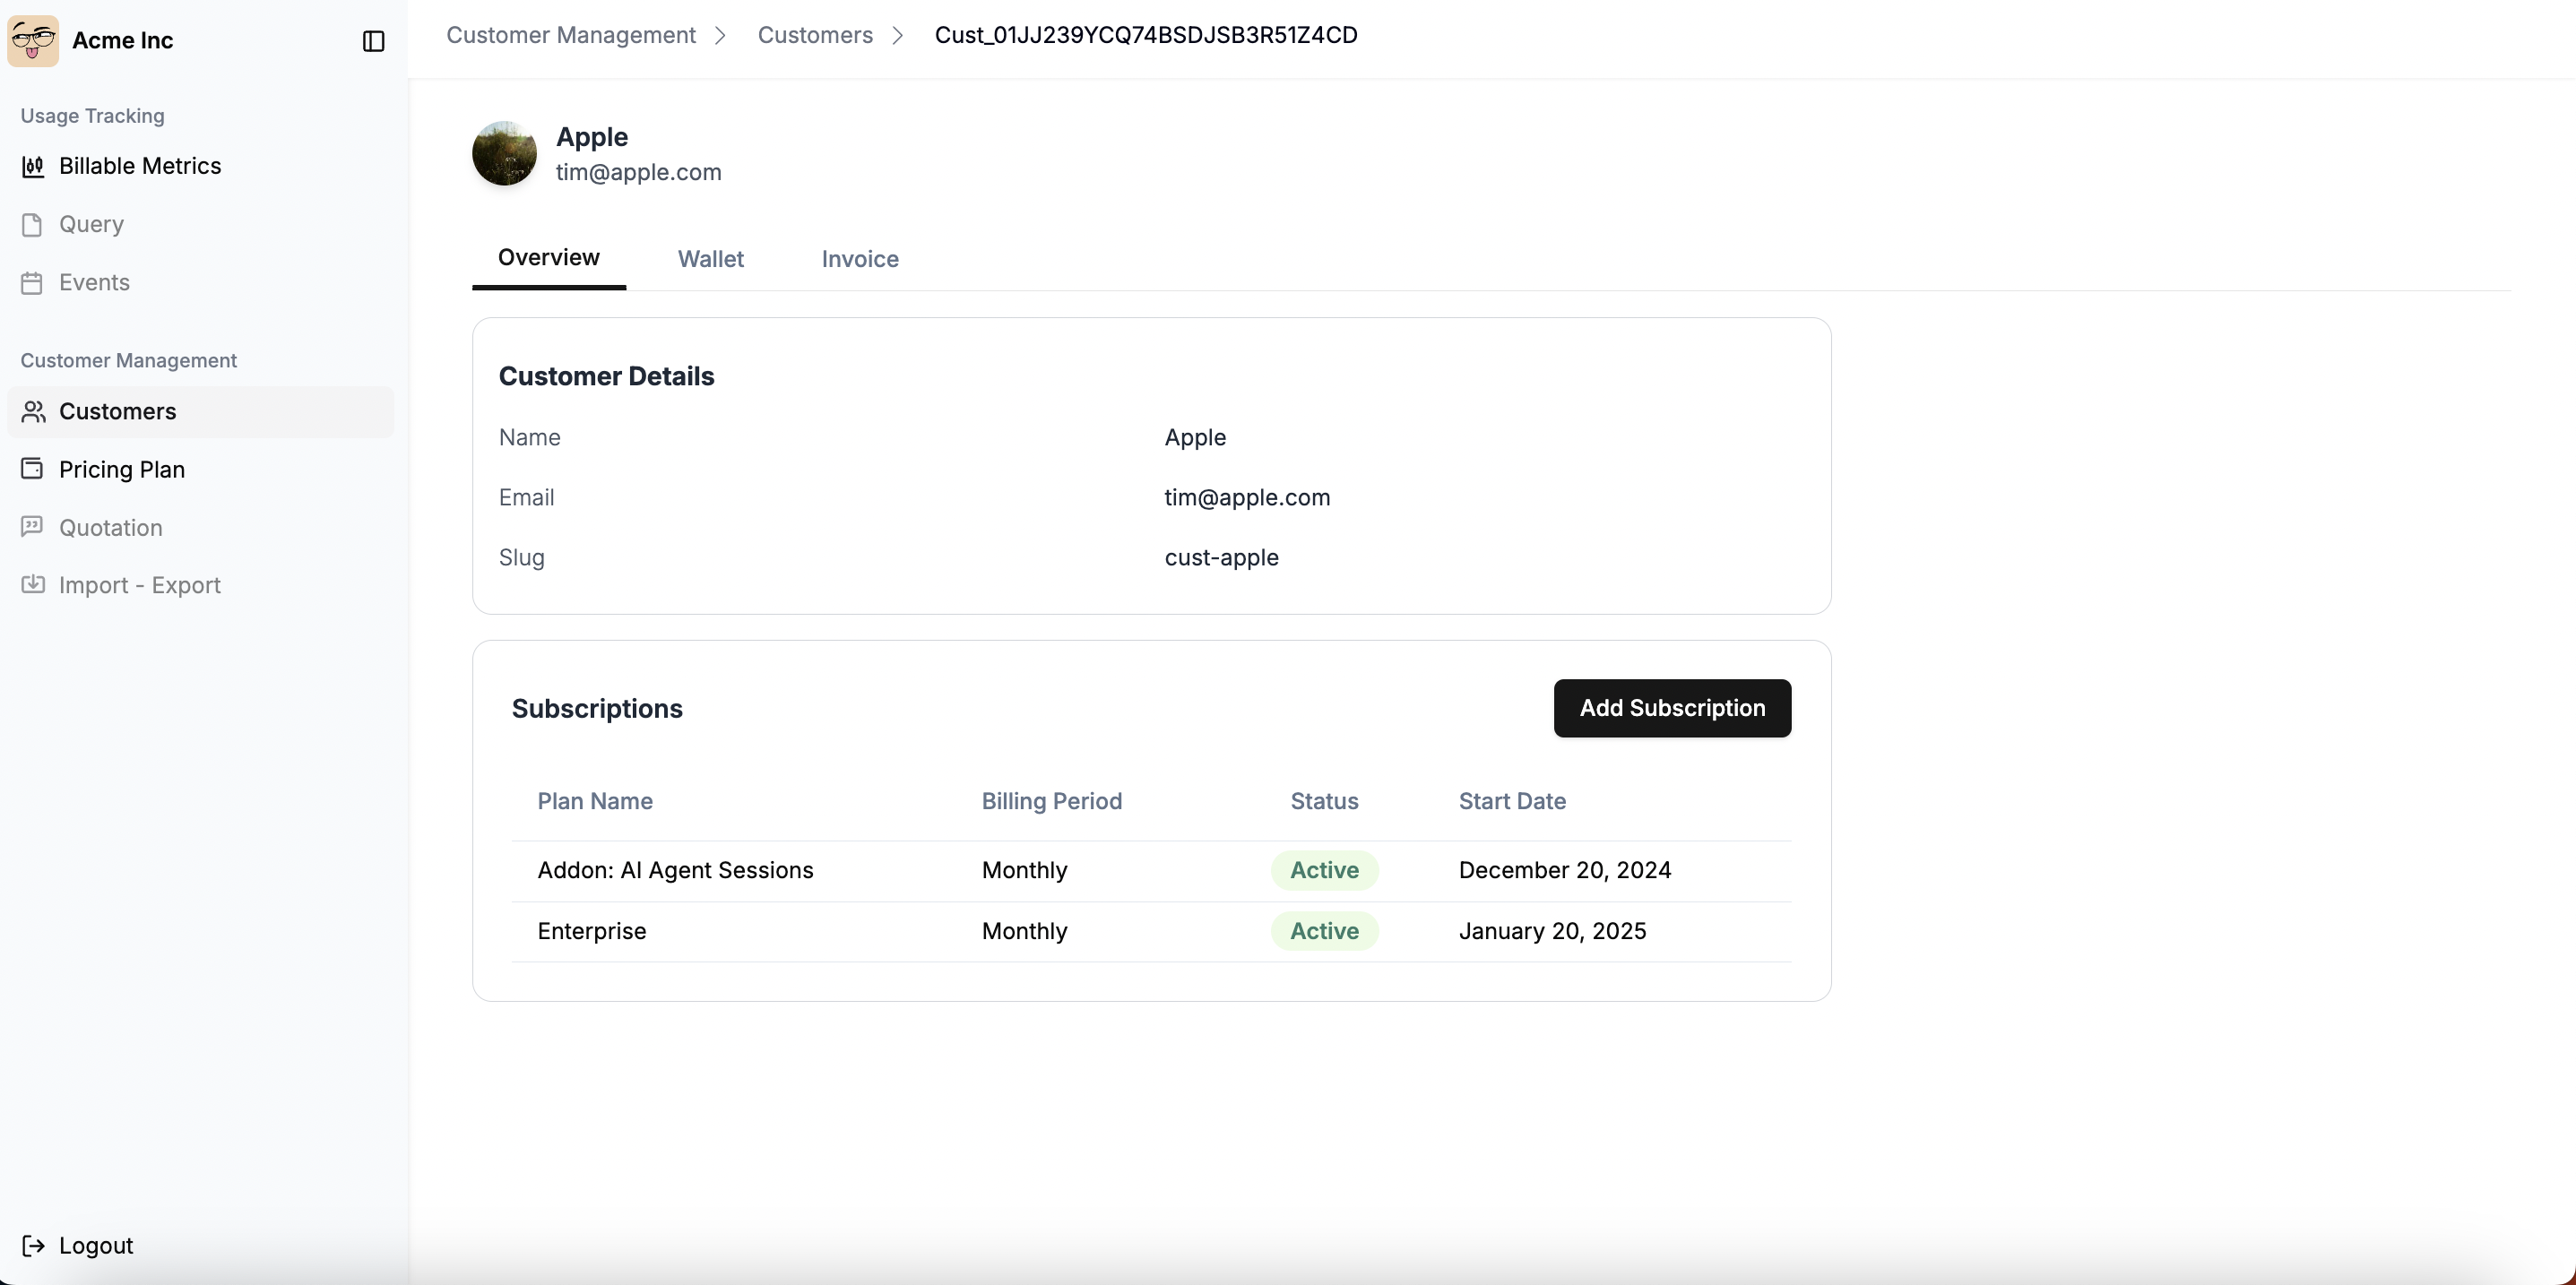
The subscription will now appear under the customer’s details with its status and billing information.
Managing Multiple Subscriptions for a Customer
- A single customer can have multiple active subscriptions.
- Each subscription operates independently based on its assigned billing period, charges, and start date.
-
For example, a customer can have both a
Basic Planand anAddon: AI Agent Sessionssubscription, each billed separately.
Customizing Subscription Pricing
- Override Line Items: Customize pricing for specific subscriptions by overriding plan prices
- Special Pricing: Offer enterprise discounts, bulk pricing, or promotional rates
- Flexible Billing: Modify billing models, tier structures, and quantities per subscription